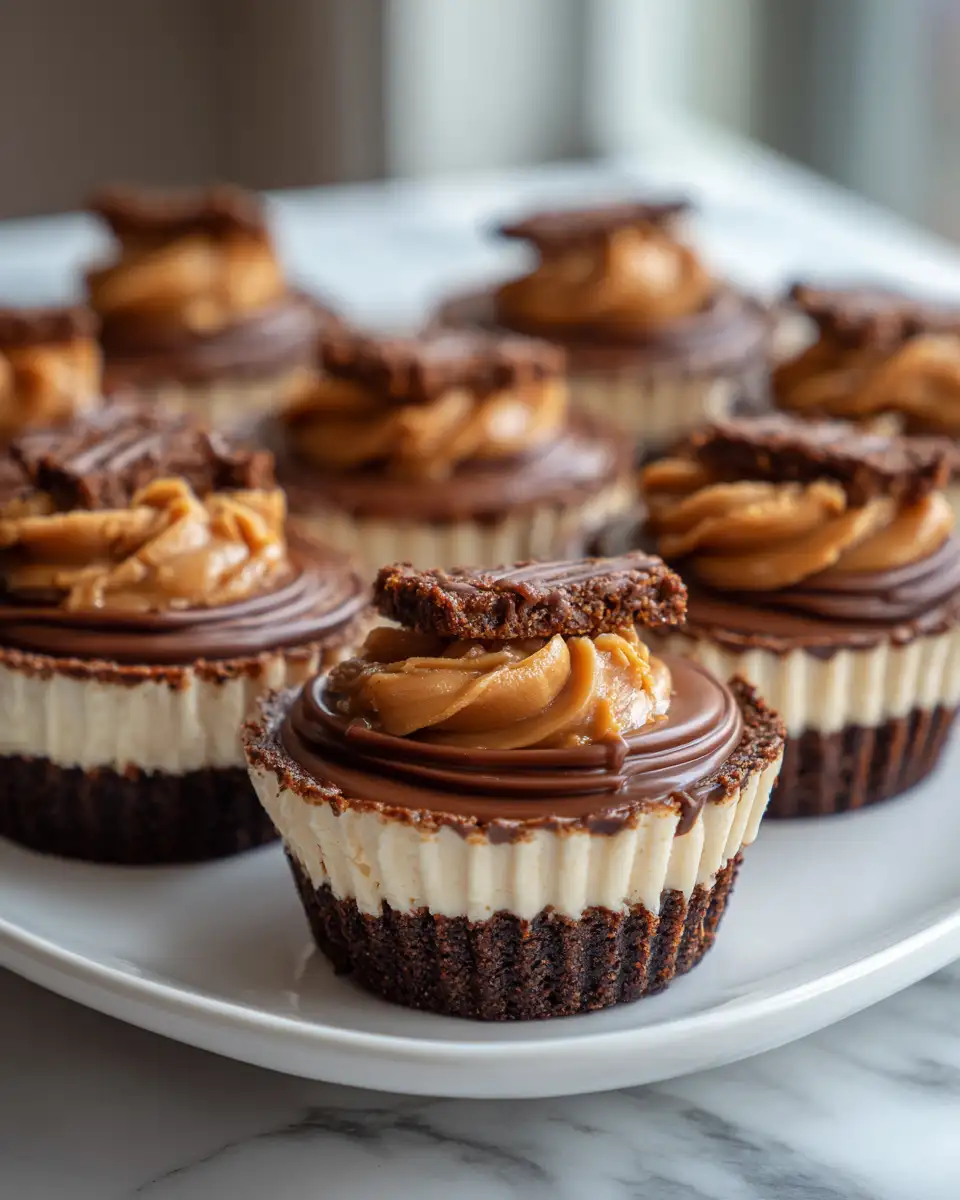
There’s something magically nostalgic about the simple act of no-bake cooking, especially when it comes to desserts like my No Bake Biscoff Brownie Cups. Growing up in Asheville, North Carolina, the heart of our home was always the kitchen, filled with the rich aromas of my mother’s traditional Mexican dishes. I remember those warm afternoons when my abuela would let me stir the pot or sneak a taste of the chocolate batter. It was those moments that fostered my love for creating unique and indulgent treats. Today, I’m sharing a recipe that melds those childhood memories with a modern twist, offering a delightful, no-fuss dessert that’s sure to become a family favorite.
Why You’ll Love This No Bake Biscoff Brownie Cups
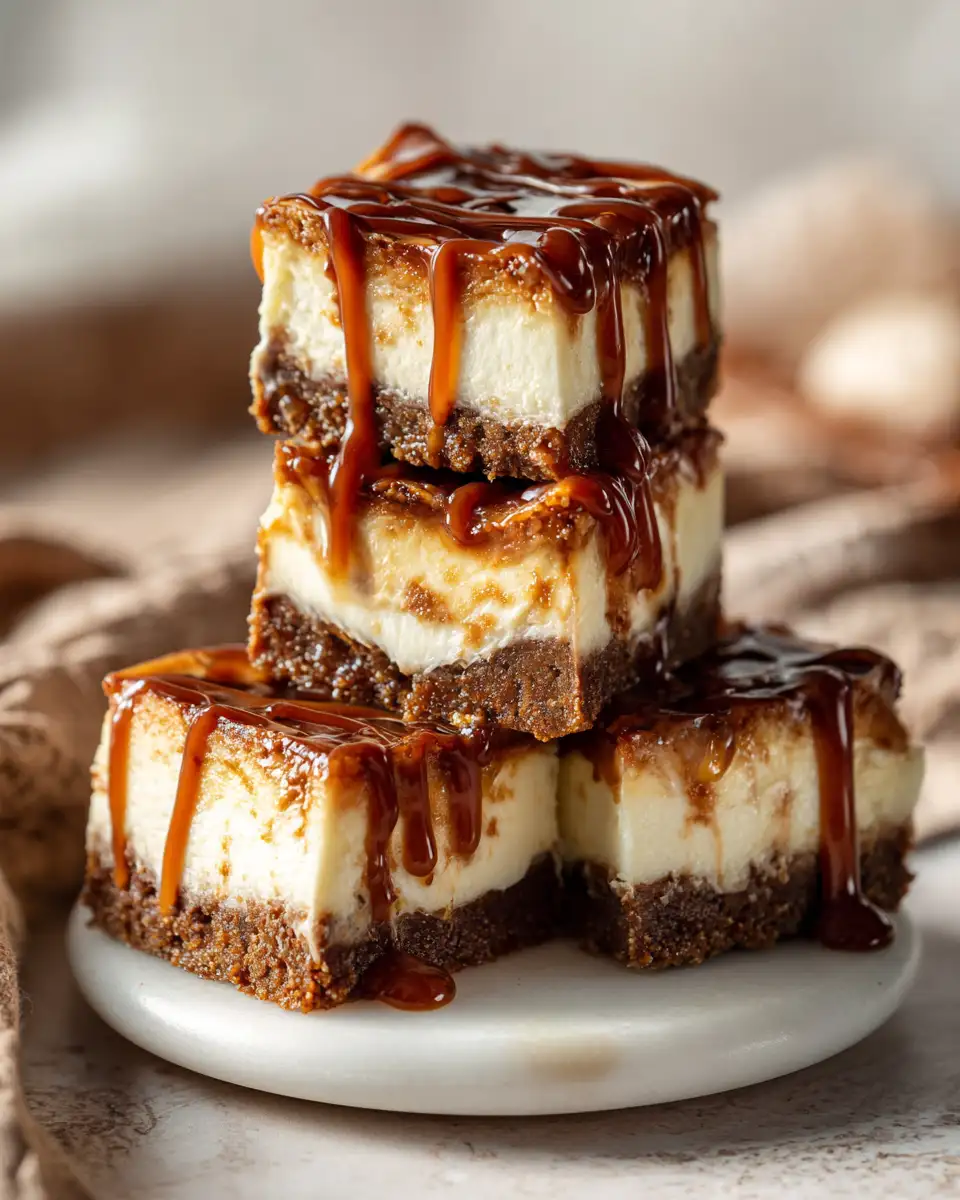
These No Bake Biscoff Brownie Cups are the epitome of indulgence without the hassle. Picture this: a rich, fudgy brownie layer that’s perfectly complemented by the sweet, spicy notes of Biscoff spread. Being a busy mom and a full-time food blogger means I cherish recipes that provide maximum flavor with minimal effort. These cups are perfect for summer days when turning on the oven sounds like a chore, or when you need a quick dessert fix without sacrificing taste. Plus, they remind me of those joyful kitchen moments with family, where simplicity often led to the most delightful creations.
Ingredients You’ll Need for This No Bake Biscoff Brownie Cups
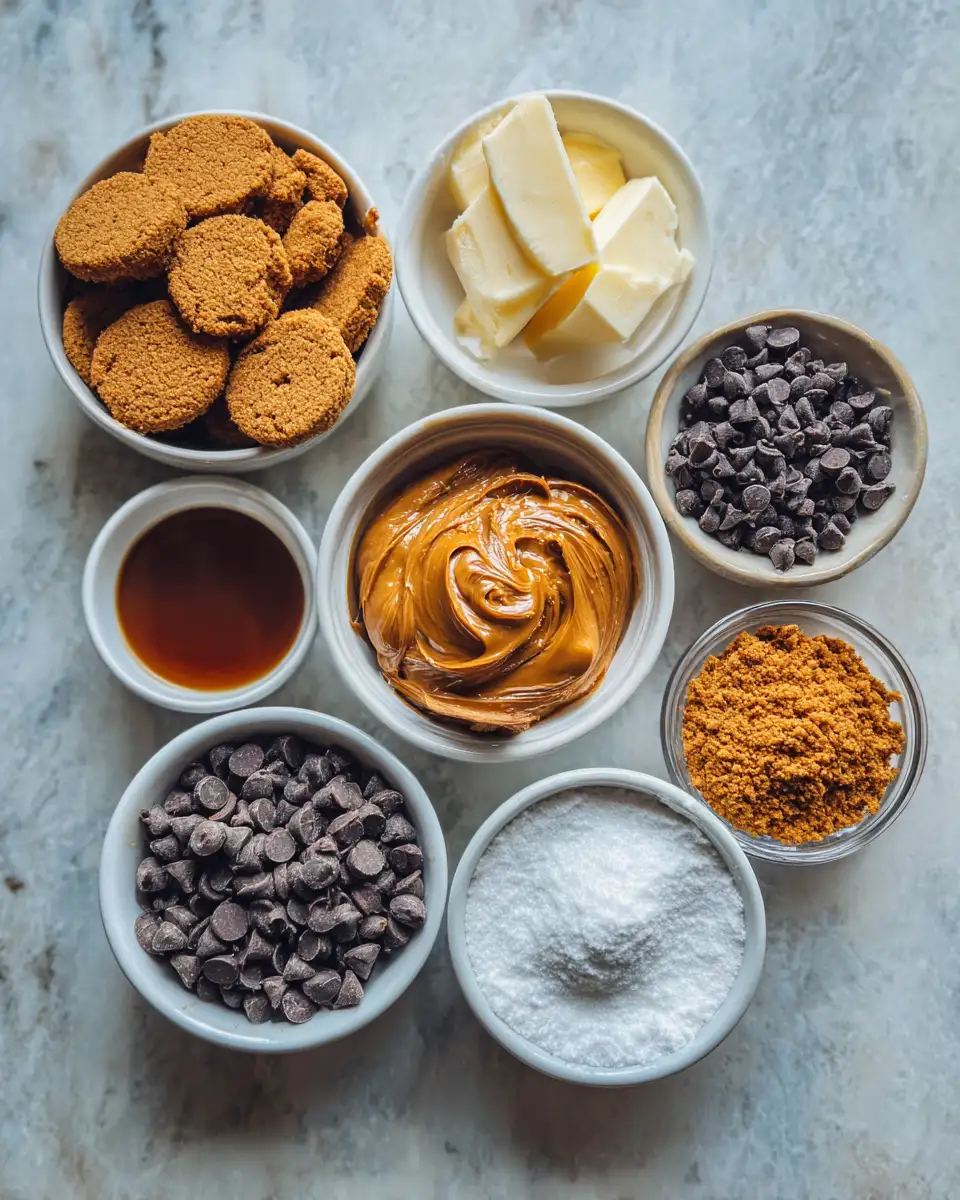
- 1 cup Biscoff spread
- 1 cup semi-sweet chocolate chips
- 1/2 cup unsalted butter
- 1/4 cup heavy cream
- 2 cups crushed digestive biscuits (or graham crackers for a sweeter touch)
- 1/4 cup powdered sugar
- 1 teaspoon vanilla extract
- Pinch of salt
- 1/2 cup crushed Biscoff cookies for topping
Nutrition Facts
- Calories: 420 per serving
- Protein: 4g
- Fat: 28g
- Carbohydrates: 40g
- Fiber: 2g
- Sugar: 24g
- Sodium: 120mg
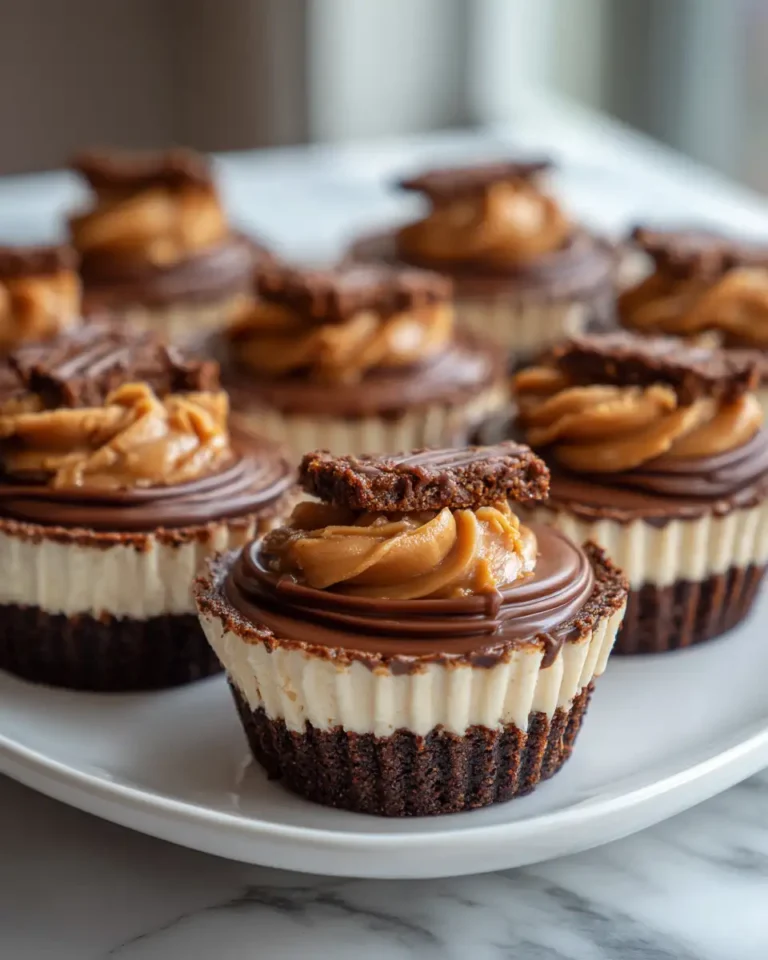
Decadent Delights: No Bake Biscoff Brownie Cups for Effortless Indulgence
Learn how to make delicious No Bake Biscoff Brownie Cups. Easy recipe with step-by-step instructions.
- Total Time: 45 minutes
- Yield: 4 servings
Ingredients
- 1 cup Biscoff spread
- 1 cup semi-sweet chocolate chips
- 1/2 cup unsalted butter
- 1/4 cup heavy cream
- 2 cups crushed digestive biscuits (or graham crackers for a sweeter touch)
- 1/4 cup powdered sugar
- 1 teaspoon vanilla extract
- Pinch of salt
- 1/2 cup crushed Biscoff cookies for topping
Instructions
- Begin by preparing your base. In a medium saucepan over low heat, melt the chocolate chips and butter together, stirring constantly until smooth. This reminds me of the times my mother would let me stir her chocolate sauce, always encouraging me to be patient.
- Once melted, remove from heat and stir in the Biscoff spread, heavy cream, vanilla extract, and a pinch of salt until well combined.
- In a large mixing bowl, combine the crushed digestive biscuits and powdered sugar. Pour the chocolate mixture over the dry ingredients, mixing until everything is well coated.
- Line a muffin tin with paper liners and evenly distribute the mixture into each cup, pressing down gently to pack firmly.
- Top each cup with a generous sprinkle of crushed Biscoff cookies, pressing them lightly into the surface.
- Refrigerate for at least 2 hours or until set. This waiting period always takes me back to the anticipation of waiting for holiday desserts to cool, knowing the reward was worth it.
- Once set, remove from the muffin tin and enjoy these delightful cups with family and friends.
- Prep Time: 15 minutes
- Cook Time: 30 minutes
- Category: Main Dish
- Method: Cooking
- Cuisine: International
Steps to Create Your No Bake Biscoff Brownie Cups
- Begin by preparing your base. In a medium saucepan over low heat, melt the chocolate chips and butter together, stirring constantly until smooth. This reminds me of the times my mother would let me stir her chocolate sauce, always encouraging me to be patient.
- Once melted, remove from heat and stir in the Biscoff spread, heavy cream, vanilla extract, and a pinch of salt until well combined.
- In a large mixing bowl, combine the crushed digestive biscuits and powdered sugar. Pour the chocolate mixture over the dry ingredients, mixing until everything is well coated.
- Line a muffin tin with paper liners and evenly distribute the mixture into each cup, pressing down gently to pack firmly.
- Top each cup with a generous sprinkle of crushed Biscoff cookies, pressing them lightly into the surface.
- Refrigerate for at least 2 hours or until set. This waiting period always takes me back to the anticipation of waiting for holiday desserts to cool, knowing the reward was worth it.
- Once set, remove from the muffin tin and enjoy these delightful cups with family and friends.
Tips for Making the Best No Bake Biscoff Brownie Cups
To ensure your No Bake Biscoff Brownie Cups are a hit, here are some tips from my kitchen to yours. Firstly, quality ingredients make all the difference – opt for good quality chocolate and Biscoff spread. Don’t rush the melting process; patience is key to achieving a smooth, glossy finish. If you’re feeling adventurous, try adding a sprinkle of sea salt on top for a delightful contrast to the sweetness. Lastly, involve your kids in the process. I find that cooking with my children not only makes for a fun activity but also creates lasting memories, much like the ones I cherish from my childhood.
Serving Suggestions and Pairings
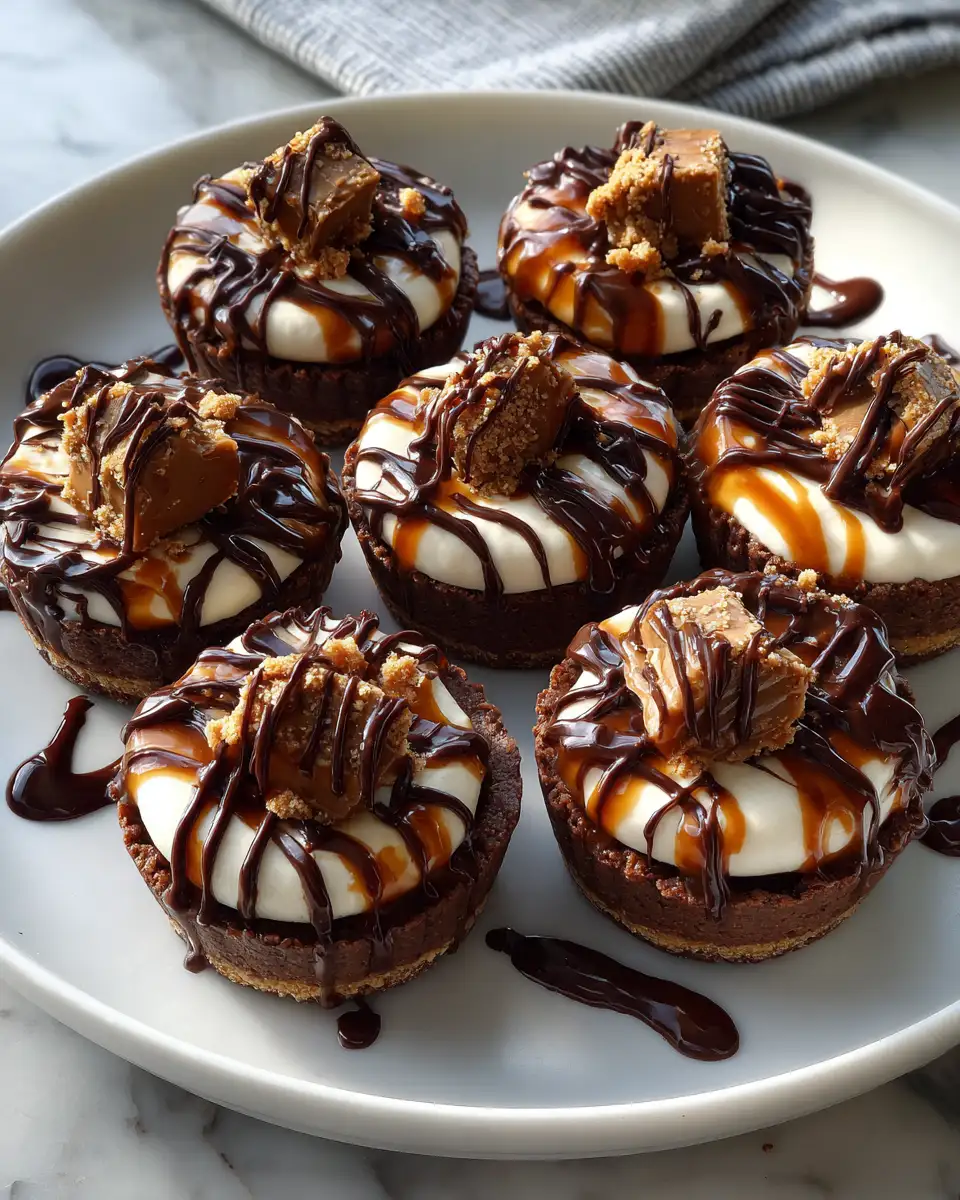
These brownie cups are versatile and can be dressed up or down depending on the occasion. For a casual family gathering, serve them with a scoop of vanilla ice cream or a dollop of whipped cream. If you’re entertaining guests, a drizzle of caramel sauce and a sprinkle of sea salt can elevate them to a gourmet dessert. Pair with a strong cup of espresso or a chilled glass of milk for the ultimate indulgence. I often serve these at our family gatherings, where they never fail to impress and delight everyone from the youngest to the oldest.
Storage and Reheating Tips
Store your No Bake Biscoff Brownie Cups in an airtight container in the refrigerator for up to a week, though they rarely last that long in my house! If you need to store them longer, they freeze beautifully for up to three months. Simply place them in a freezer-safe container, separating layers with parchment paper. To enjoy, allow them to thaw in the refrigerator overnight. These cups are best served chilled, capturing the essence of those nostalgic summer desserts that require no fuss, just pure enjoyment.
Frequently Asked Questions
What are the main ingredients for No Bake Biscoff Brownie Cups?
The main ingredients for No Bake Biscoff Brownie Cups include the items listed in our ingredients section above. Each ingredient plays a crucial role in achieving the perfect flavor and texture.
How long does it take to make No Bake Biscoff Brownie Cups?
The total time to make No Bake Biscoff Brownie Cups includes both preparation and cooking time. Check the recipe card above for exact timing details.
Can I make No Bake Biscoff Brownie Cups ahead of time?
Yes, No Bake Biscoff Brownie Cups can often be prepared in advance. Store it properly in an airtight container in the refrigerator and consume within the recommended timeframe.
What can I serve with No Bake Biscoff Brownie Cups?
No Bake Biscoff Brownie Cups pairs well with various sides and accompaniments. Consider the serving suggestions mentioned in the recipe for the best dining experience.
Is No Bake Biscoff Brownie Cups suitable for special diets?
Depending on the ingredients used, No Bake Biscoff Brownie Cups may be adapted for various dietary needs. Check the ingredients list and consider substitutions as needed for your dietary requirements.
Final Thoughts
Creating these No Bake Biscoff Brownie Cups feels like a delicious homage to my roots and the joyful simplicity of no-bake desserts. With every bite, they transport me back to Asheville’s vibrant kitchen, surrounded by family and the comforting aroma of homemade sweets. Whether you’re a busy parent, a novice cook, or simply someone who appreciates a good treat, these cups are a testament to the beauty of uncomplicated indulgence. I hope they bring as much joy to your table as they do to mine, becoming a cherished part of your culinary repertoire.