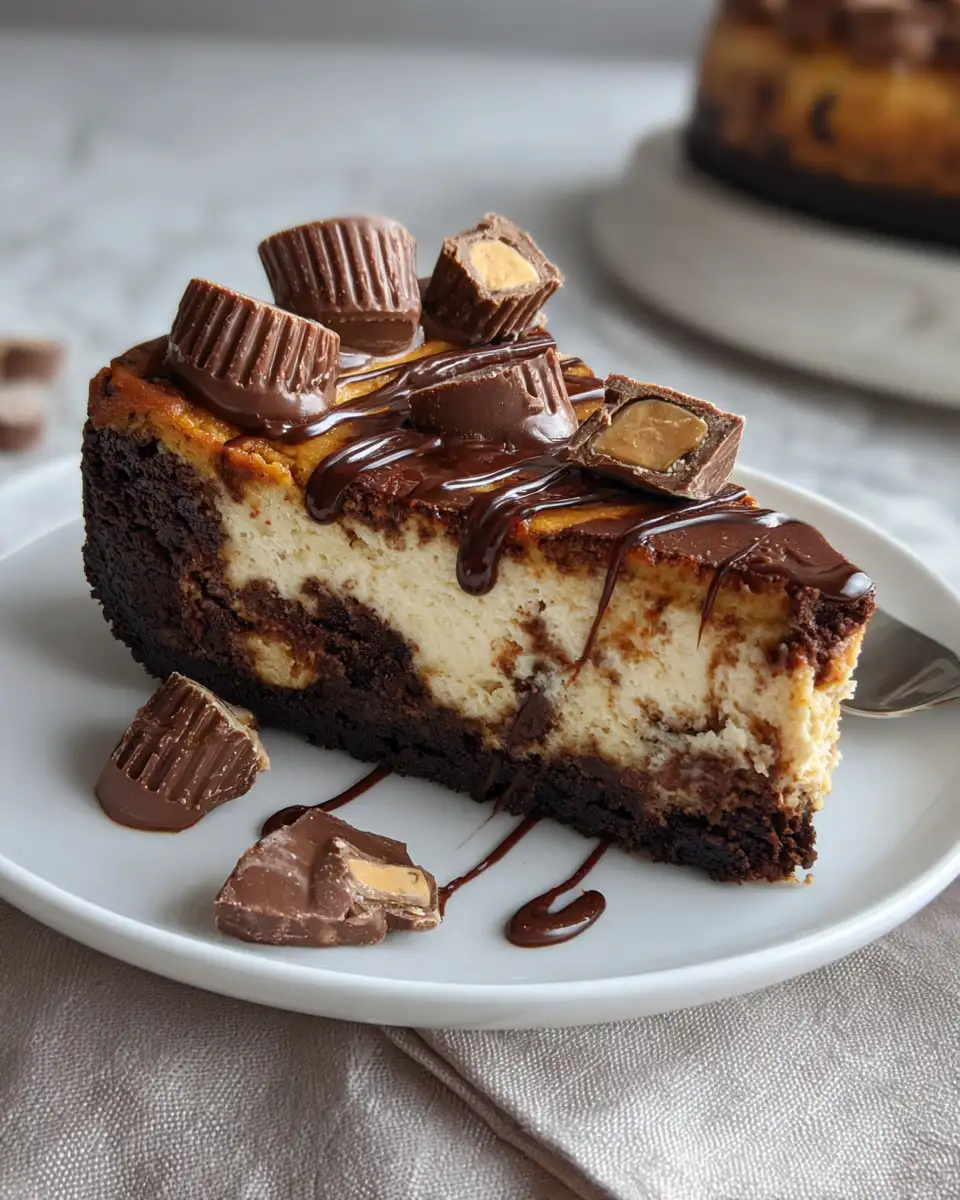
There’s something truly magical about combining rich, chocolatey brownies with the creamy decadence of cheesecake. Add in the nostalgic and comforting flavor of peanut butter cups, and you have a dessert that’s not only indulgent but speaks straight to the soul. This Peanut Butter Cup Brownie Cheesecake is a dessert that feels like home, especially to someone like me, who grew up with a kitchen as the heart of family gatherings. Back in Asheville, North Carolina, where the mountains meet the skyline, my Mexican-American family always knew how to turn simple ingredients into something extraordinary. This dessert is a testament to that tradition, a treat that’s perfect for sharing stories and laughter around the table.
Why You’ll Love This Peanut Butter Cup Brownie Cheesecake
Imagine biting into a dessert that perfectly marries the dense, fudgy goodness of a brownie with the smooth, tangy creaminess of cheesecake, all crowned with chunks of peanut butter cups. This Peanut Butter Cup Brownie Cheesecake is not just a dessert; it’s an experience. It’s the kind of recipe that evokes memories of my abuela mixing up sweets in the kitchen, her laughter mixing with the sound of a wooden spoon against a ceramic bowl. You’ll love this cheesecake for its layers of flavor and texture, but also for the way it brings people together.
Ingredients You’ll Need for This Peanut Butter Cup Brownie Cheesecake
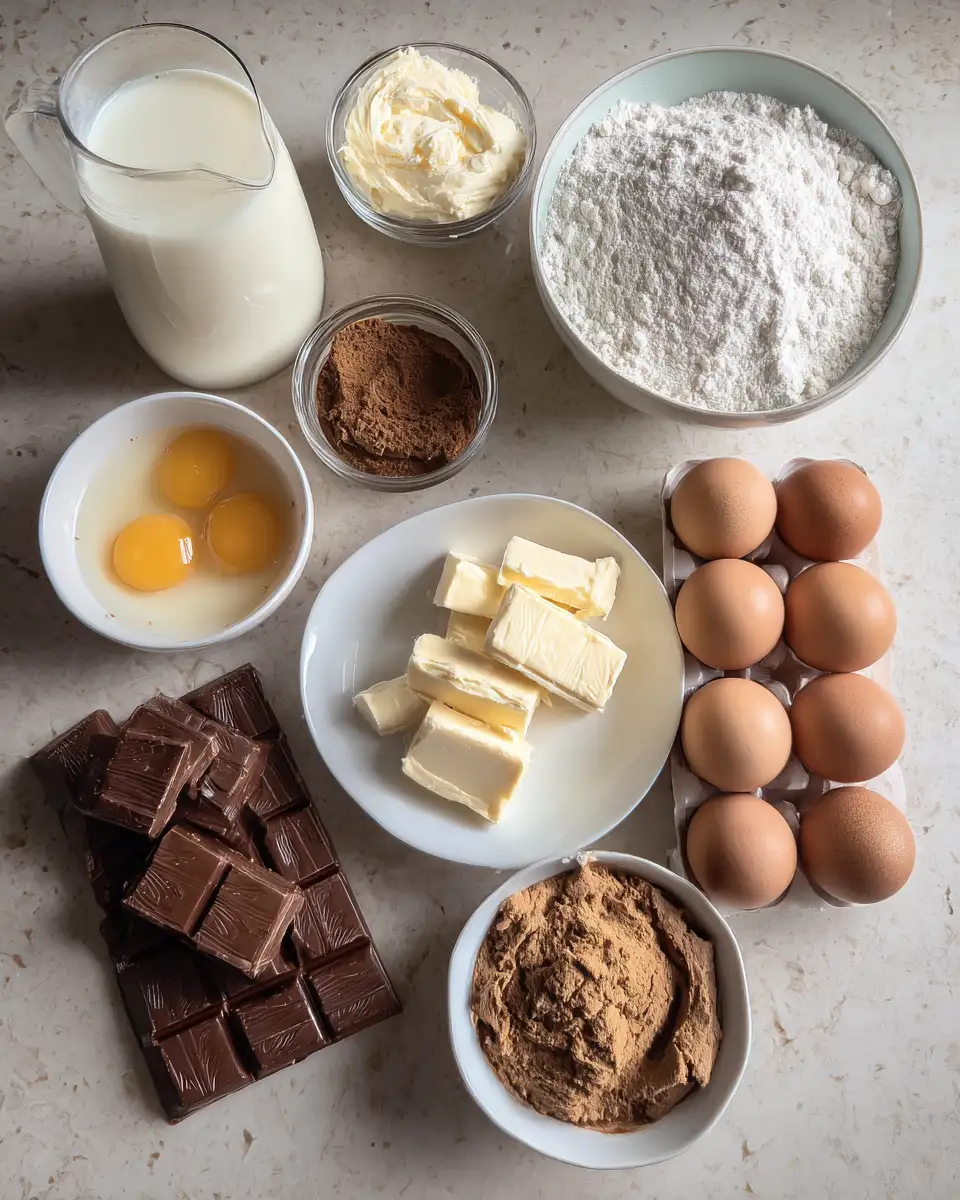
- 1 cup unsalted butter, melted
- 2 cups granulated sugar
- 1 cup all-purpose flour
- 1 cup unsweetened cocoa powder
- 4 large eggs
- 1 teaspoon vanilla extract
- 1/2 teaspoon salt
- 24 oz cream cheese, softened
- 1 cup granulated sugar
- 3 large eggs
- 1 teaspoon vanilla extract
- 1/2 cup sour cream
- 1/2 cup peanut butter
- 8 oz peanut butter cups, chopped
Nutrition Facts
- Calories: 550 per serving
- Protein: 8g
- Fat: 35g
- Carbohydrates: 55g
- Fiber: 2g
- Sugar: 38g
- Sodium: 320mg
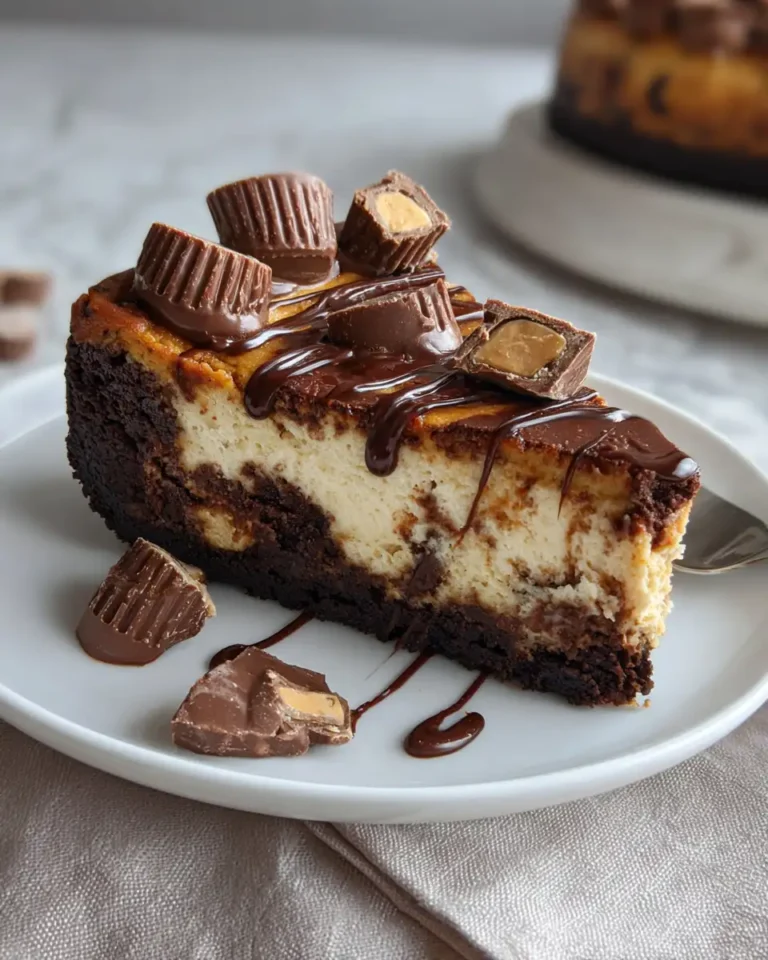
Indulge in Decadence: Peanut Butter Cup Brownie Cheesecake Bliss
Learn how to make delicious Peanut Butter Cup Brownie Cheesecake. Easy recipe with step-by-step instructions.
- Total Time: 45 minutes
- Yield: 4 servings
Ingredients
- 1 cup unsalted butter, melted
- 2 cups granulated sugar
- 1 cup all-purpose flour
- 1 cup unsweetened cocoa powder
- 4 large eggs
- 1 teaspoon vanilla extract
- 1/2 teaspoon salt
- 24 oz cream cheese, softened
- 1 cup granulated sugar
- 3 large eggs
- 1 teaspoon vanilla extract
- 1/2 cup sour cream
- 1/2 cup peanut butter
- 8 oz peanut butter cups, chopped
Instructions
- Preheat your oven to 350°F. Grease a 9-inch springform pan and set it aside.
- In a large bowl, mix together the melted butter and 2 cups of sugar until well combined.
- Add in the flour, cocoa powder, eggs, vanilla extract, and salt. Stir until you have a smooth batter.
- Pour the brownie batter into the prepared pan, spreading it evenly. Bake for 20-25 minutes, or until a toothpick inserted into the center comes out mostly clean. Let it cool slightly.
- While the brownie layer cools, prepare the cheesecake layer. In another bowl, beat together the cream cheese and 1 cup of sugar until smooth and creamy.
- Add in the eggs, one at a time, beating well after each addition. Stir in the vanilla extract, sour cream, and peanut butter until fully incorporated.
- Carefully pour the cheesecake batter over the cooled brownie layer. Smooth the top with a spatula.
- Sprinkle the chopped peanut butter cups over the top of the cheesecake layer.
- Place the springform pan on a baking sheet to catch any drips, and bake for 50-60 minutes, or until the cheesecake is set but still slightly jiggly in the center.
- Turn off the oven and let the cheesecake cool in the oven with the door slightly ajar for about an hour. Then, refrigerate for at least 4 hours or overnight before serving.
- Prep Time: 15 minutes
- Cook Time: 30 minutes
- Category: Main Dish
- Method: Cooking
- Cuisine: International
Steps to Create Your Peanut Butter Cup Brownie Cheesecake
- Preheat your oven to 350°F. Grease a 9-inch springform pan and set it aside.
- In a large bowl, mix together the melted butter and 2 cups of sugar until well combined.
- Add in the flour, cocoa powder, eggs, vanilla extract, and salt. Stir until you have a smooth batter.
- Pour the brownie batter into the prepared pan, spreading it evenly. Bake for 20-25 minutes, or until a toothpick inserted into the center comes out mostly clean. Let it cool slightly.
- While the brownie layer cools, prepare the cheesecake layer. In another bowl, beat together the cream cheese and 1 cup of sugar until smooth and creamy.
- Add in the eggs, one at a time, beating well after each addition. Stir in the vanilla extract, sour cream, and peanut butter until fully incorporated.
- Carefully pour the cheesecake batter over the cooled brownie layer. Smooth the top with a spatula.
- Sprinkle the chopped peanut butter cups over the top of the cheesecake layer.
- Place the springform pan on a baking sheet to catch any drips, and bake for 50-60 minutes, or until the cheesecake is set but still slightly jiggly in the center.
- Turn off the oven and let the cheesecake cool in the oven with the door slightly ajar for about an hour. Then, refrigerate for at least 4 hours or overnight before serving.
Tips for Making the Best Peanut Butter Cup Brownie Cheesecake
To ensure your Peanut Butter Cup Brownie Cheesecake turns out perfectly, here are a few tips from my own kitchen adventures:
- Room Temperature Ingredients: Make sure the cream cheese and eggs are at room temperature. This helps create a smooth, lump-free cheesecake batter.
- Don’t Overbake: Remember that the cheesecake will continue to set as it cools, so a little jiggle in the center is perfect.
- Water Bath: Consider using a water bath to prevent cracks. Wrap the springform pan in foil and place it in a larger pan filled with a couple of inches of water.
Serving Suggestions and Pairings
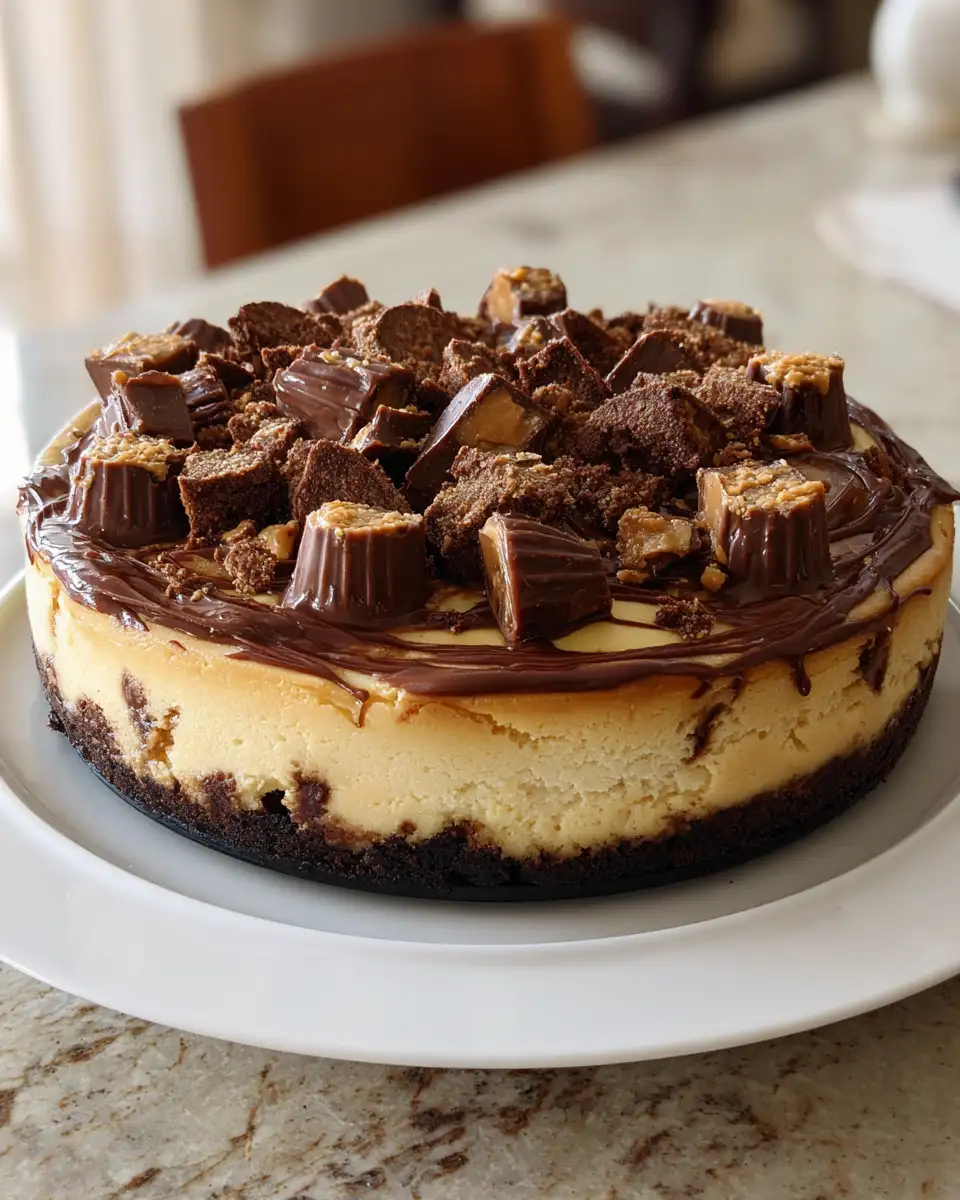
This dessert is a showstopper all on its own, but if you’re looking to elevate the experience, serve it with a scoop of vanilla ice cream or a dollop of whipped cream. The contrast of hot and cold is reminiscent of those chilly Asheville nights when desserts by the fire were the perfect end to a day. A cup of strong espresso or a glass of cold milk pairs beautifully, cutting through the richness with their own unique notes.
Storage and Reheating Tips
Store any leftovers of your Peanut Butter Cup Brownie Cheesecake in an airtight container in the refrigerator for up to five days. It can also be frozen for longer storage; just be sure to wrap it tightly in plastic wrap and foil to prevent freezer burn. To enjoy a slice, allow it to come back to room temperature naturally or give it a quick, gentle warm-up in the microwave at a low power setting.
Frequently Asked Questions
What are the main ingredients for Peanut Butter Cup Brownie Cheesecake?
The main ingredients for Peanut Butter Cup Brownie Cheesecake include the items listed in our ingredients section above. Each ingredient plays a crucial role in achieving the perfect flavor and texture.
How long does it take to make Peanut Butter Cup Brownie Cheesecake?
The total time to make Peanut Butter Cup Brownie Cheesecake includes both preparation and cooking time. Check the recipe card above for exact timing details.
Can I make Peanut Butter Cup Brownie Cheesecake ahead of time?
Yes, Peanut Butter Cup Brownie Cheesecake can often be prepared in advance. Store it properly in an airtight container in the refrigerator and consume within the recommended timeframe.
What can I serve with Peanut Butter Cup Brownie Cheesecake?
Peanut Butter Cup Brownie Cheesecake pairs well with various sides and accompaniments. Consider the serving suggestions mentioned in the recipe for the best dining experience.
Is Peanut Butter Cup Brownie Cheesecake suitable for special diets?
Depending on the ingredients used, Peanut Butter Cup Brownie Cheesecake may be adapted for various dietary needs. Check the ingredients list and consider substitutions as needed for your dietary requirements.
Final Thoughts
This Peanut Butter Cup Brownie Cheesecake is more than just a dessert; it’s a tribute to the love and creativity that fills every family kitchen. Creating this masterpiece is like painting with flavors, each layer contributing to a symphony of taste that echoes the warmth of family gatherings and the joy of sharing good food. Whether you’re making it for a celebration or just because, I hope it brings as much happiness to your table as it does to mine.