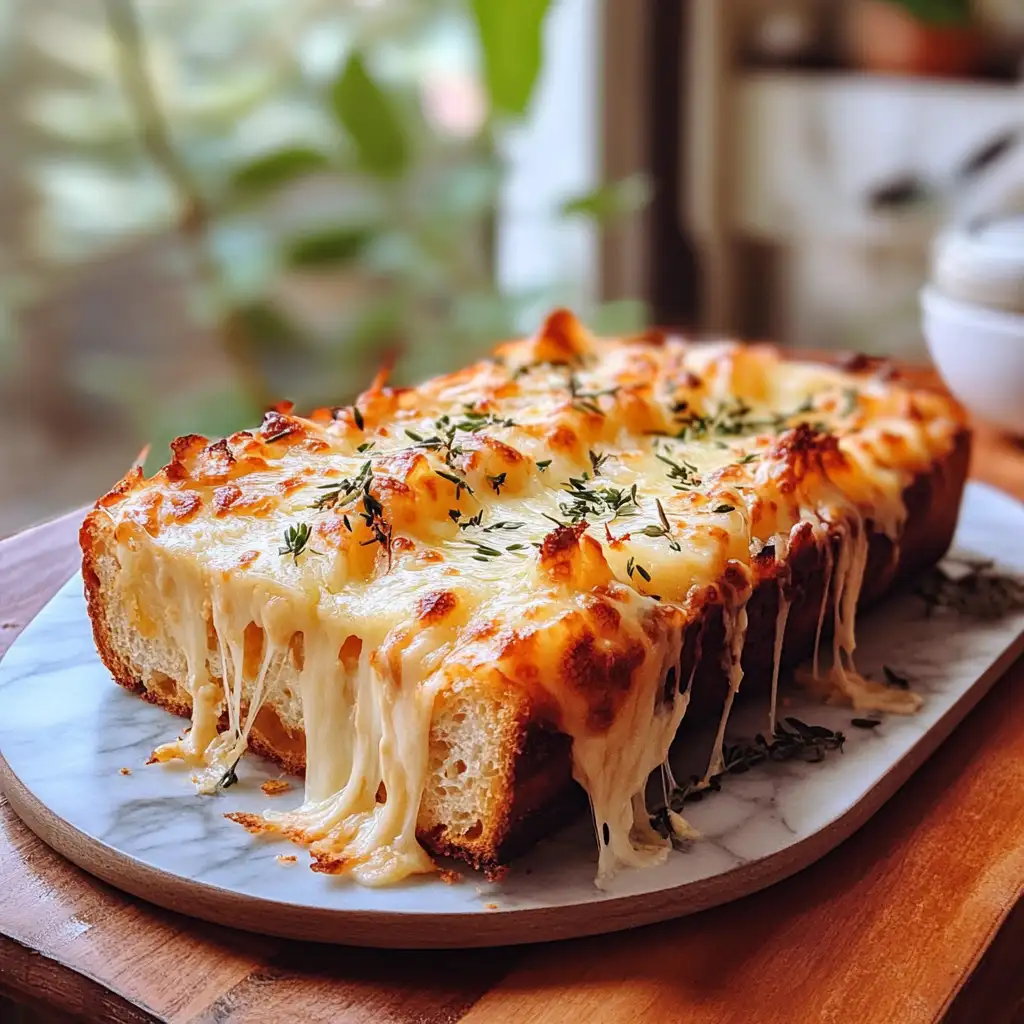

Welcome to my kitchen, where the irresistible aroma of Cheesy Garlic Chicken Sliders is about to fill the air! These delightful bites have a special place in my heart, reminiscent of the bustling family meals back in Asheville. Picture this: the entire family gathered around the kitchen, my abuela’s laughter echoing in the background, and the sizzling of delicious creations on the stove. Though I now call Charleston home, those warm memories continue to inspire my culinary adventures. Today, I’m excited to share my take on these sliders, perfect for a quick weeknight meal or a casual get-together with friends.
Table of Contents
Why You’ll Love This Cheesy Garlic Chicken Sliders
These Cheesy Garlic Chicken Sliders are the epitome of comfort food, blending juicy chicken, gooey cheese, and a hint of garlic in every bite. I love how they encapsulate the lively spirit of family gatherings, bringing everyone together over a shared love for delicious, homemade food. Growing up, my family meals were a boisterous affair, and these sliders evoke that same joyful atmosphere. Whether you’re a busy parent or just someone looking for a quick yet satisfying meal, these sliders are a crowd-pleaser that will have everyone reaching for seconds.
Ingredients You’ll Need for This Cheesy Garlic Chicken Sliders
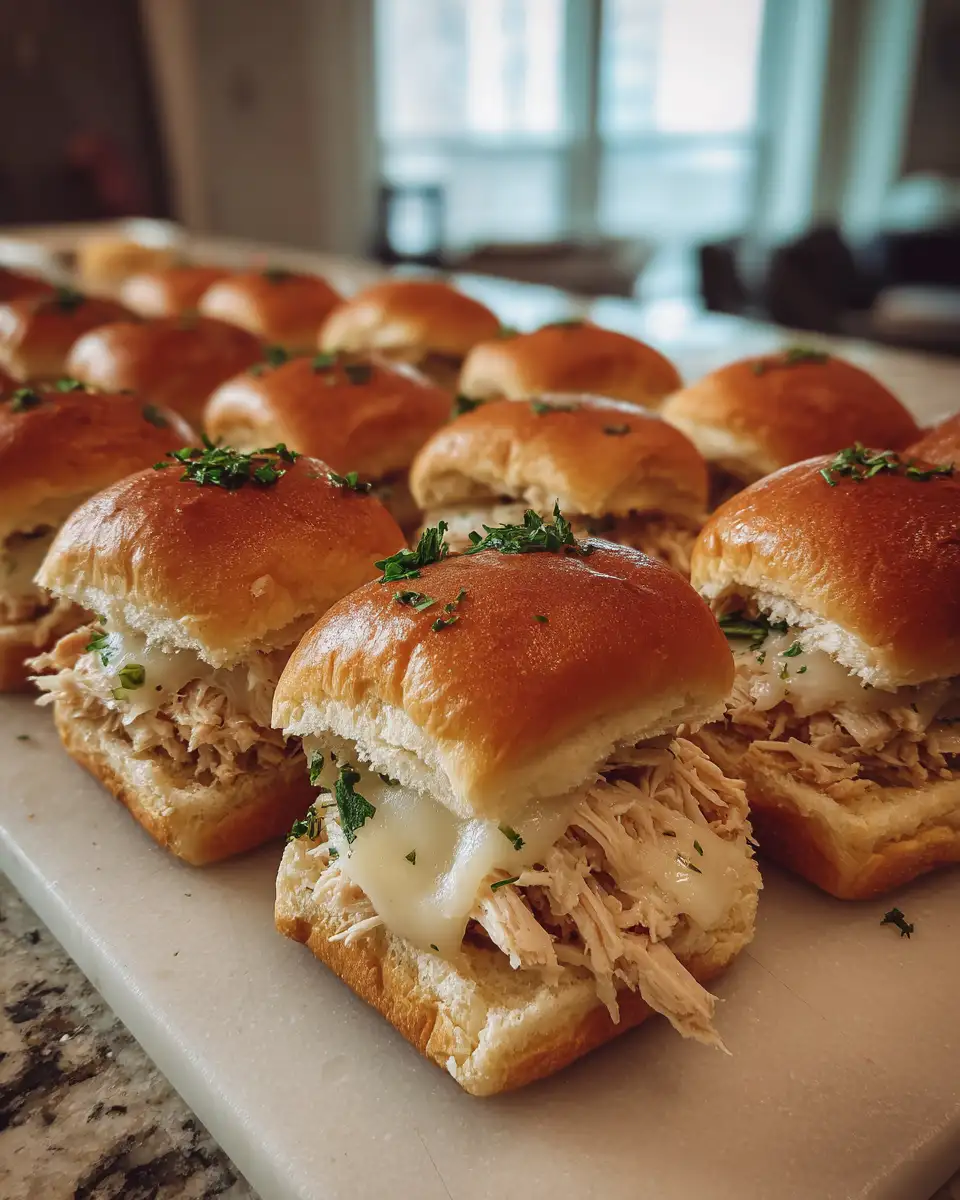
- 1 pound chicken breast, cooked and shredded
- 1 cup shredded mozzarella cheese
- 1/2 cup grated Parmesan cheese
- 1/4 cup mayonnaise
- 3 cloves garlic, minced
- 1 tablespoon fresh parsley, chopped
- 1/2 teaspoon salt
- 1/4 teaspoon black pepper
- 12 slider buns
- 2 tablespoons butter, melted
- 1/2 teaspoon garlic powder
If you’re feeling adventurous, you can swap the mozzarella for a sharp cheddar for a bolder flavor, or use Greek yogurt instead of mayonnaise for a healthier twist.
Nutrition Facts
- Calories: 320 per serving
- Protein: 22g
- Fat: 16g
- Carbohydrates: 20g
- Fiber: 1g
- Sugar: 3g
- Sodium: 480mg

Melt-in-Your-Mouth Cheesy Garlic Chicken Sliders Delight
Learn how to make delicious Cheesy Garlic Chicken Sliders. Easy recipe with step-by-step instructions.
- Total Time: 45 minutes
- Yield: 4 servings
Ingredients
- 1 pound chicken breast, cooked and shredded
- 1 cup shredded mozzarella cheese
- 1/2 cup grated Parmesan cheese
- 1/4 cup mayonnaise
- 3 cloves garlic, minced
- 1 tablespoon fresh parsley, chopped
- 1/2 teaspoon salt
- 1/4 teaspoon black pepper
- 12 slider buns
- 2 tablespoons butter, melted
- 1/2 teaspoon garlic powder
If you’re feeling adventurous, you can swap the mozzarella for a sharp cheddar for a bolder flavor, or use Greek yogurt instead of mayonnaise for a healthier twist.
Instructions
- Preheat your oven to 350°F (175°C).
- In a large bowl, combine the shredded chicken, mozzarella cheese, Parmesan cheese, mayonnaise, minced garlic, parsley, salt, and pepper. Mix well until everything is evenly combined.
- Slice the slider buns in half horizontally and place the bottom halves on a baking sheet.
- Spread the chicken mixture evenly over the bottom halves of the slider buns.
- Top with the remaining halves of the slider buns.
- In a small bowl, mix the melted butter with the garlic powder. Brush the tops of the slider buns with the garlic butter mixture.
- Cover the sliders with aluminum foil and bake in the preheated oven for 15 minutes.
- Remove the foil and bake for an additional 5 minutes, or until the tops are golden brown and the cheese is melted.
- Let the sliders cool for a couple of minutes before serving.
As you prepare these sliders, remember to follow your senses just like my abuela did. You’ll know they’re ready when the kitchen smells like a garlicky paradise!
- Prep Time: 15 minutes
- Cook Time: 30 minutes
- Category: Main Dish
- Method: Cooking
- Cuisine: International
Steps to Create Your Cheesy Garlic Chicken Sliders
- Preheat your oven to 350°F (175°C).
- In a large bowl, combine the shredded chicken, mozzarella cheese, Parmesan cheese, mayonnaise, minced garlic, parsley, salt, and pepper. Mix well until everything is evenly combined.
- Slice the slider buns in half horizontally and place the bottom halves on a baking sheet.
- Spread the chicken mixture evenly over the bottom halves of the slider buns.
- Top with the remaining halves of the slider buns.
- In a small bowl, mix the melted butter with the garlic powder. Brush the tops of the slider buns with the garlic butter mixture.
- Cover the sliders with aluminum foil and bake in the preheated oven for 15 minutes.
- Remove the foil and bake for an additional 5 minutes, or until the tops are golden brown and the cheese is melted.
- Let the sliders cool for a couple of minutes before serving.
As you prepare these sliders, remember to follow your senses just like my abuela did. You’ll know they’re ready when the kitchen smells like a garlicky paradise!
Tips for Making the Best Cheesy Garlic Chicken Sliders
Here are some tips to make these sliders even more delightful:
- Use leftover rotisserie chicken for an even quicker preparation.
- For an extra kick, add a pinch of red pepper flakes to the chicken mixture.
- Try toasting the buns slightly before assembling them to add a bit of crunch.
These little tricks can elevate your sliders from great to unforgettable!
Serving Suggestions and Pairings
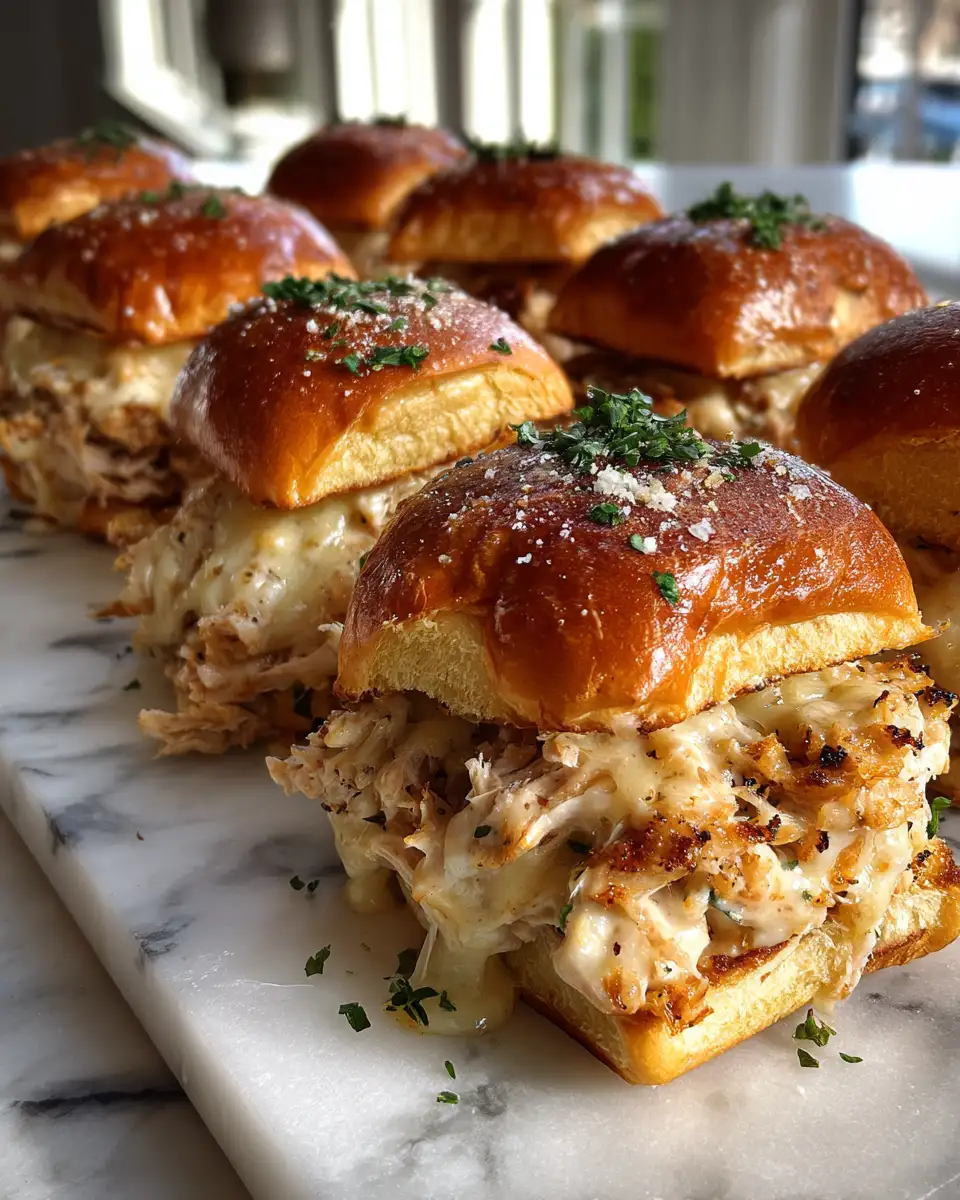
Cheesy Garlic Chicken Sliders are versatile enough to complement a variety of sides. Serve them with a fresh garden salad or crispy sweet potato fries to balance out the rich flavors. A simple coleslaw can also add a refreshing crunch. If you’re hosting a party, pair these sliders with a pitcher of homemade lemonade or a spicy margarita for a true crowd-pleaser.
Storage and Reheating Tips
If you have leftovers (which is rare in my house), simply wrap them in aluminum foil and store them in the refrigerator for up to three days. To reheat, place them in a preheated oven at 350°F for about 10 minutes or until warmed through. Avoid using the microwave as it can make the buns soggy.
Frequently Asked Questions
What are the main ingredients for Cheesy Garlic Chicken Sliders?
The main ingredients for Cheesy Garlic Chicken Sliders include the items listed in our ingredients section above. Each ingredient plays a crucial role in achieving the perfect flavor and texture.
How long does it take to make Cheesy Garlic Chicken Sliders?
The total time to make Cheesy Garlic Chicken Sliders includes both preparation and cooking time. Check the recipe card above for exact timing details.
Can I make Cheesy Garlic Chicken Sliders ahead of time?
Yes, Cheesy Garlic Chicken Sliders can often be prepared in advance. Store it properly in an airtight container in the refrigerator and consume within the recommended timeframe.
What can I serve with Cheesy Garlic Chicken Sliders?
Cheesy Garlic Chicken Sliders pairs well with various sides and accompaniments. Consider the serving suggestions mentioned in the recipe for the best dining experience.
Is Cheesy Garlic Chicken Sliders suitable for special diets?
Depending on the ingredients used, Cheesy Garlic Chicken Sliders may be adapted for various dietary needs. Check the ingredients list and consider substitutions as needed for your dietary requirements.
Final Thoughts
These Cheesy Garlic Chicken Sliders are more than just a meal; they’re a celebration of flavors and family. They bring back cherished memories of cooking with my abuela and sharing laughter-filled meals with loved ones. I hope this recipe not only fills your kitchen with delicious aromas but also brings a bit of joy and togetherness to your dining table. Happy cooking, and remember, cooking is an act of love!