Whenever I hear the phrase “Cream-Filled Cookie Cups,” my mind travels back to my childhood in Asheville, where the air was always filled with the aroma of sweet and savory delights from my mother’s kitchen. Growing up in a Mexican-American household, I learned early on that food has a magical way of bringing people together. It’s in this spirit that I share with you my recipe for Cream-Filled Cookie Cups, a delightful treat that’s perfect for any gathering or simply indulging your sweet tooth. Let’s dive into this delicious journey together!
Why You’ll Love This Cream-Filled Cookie Cups
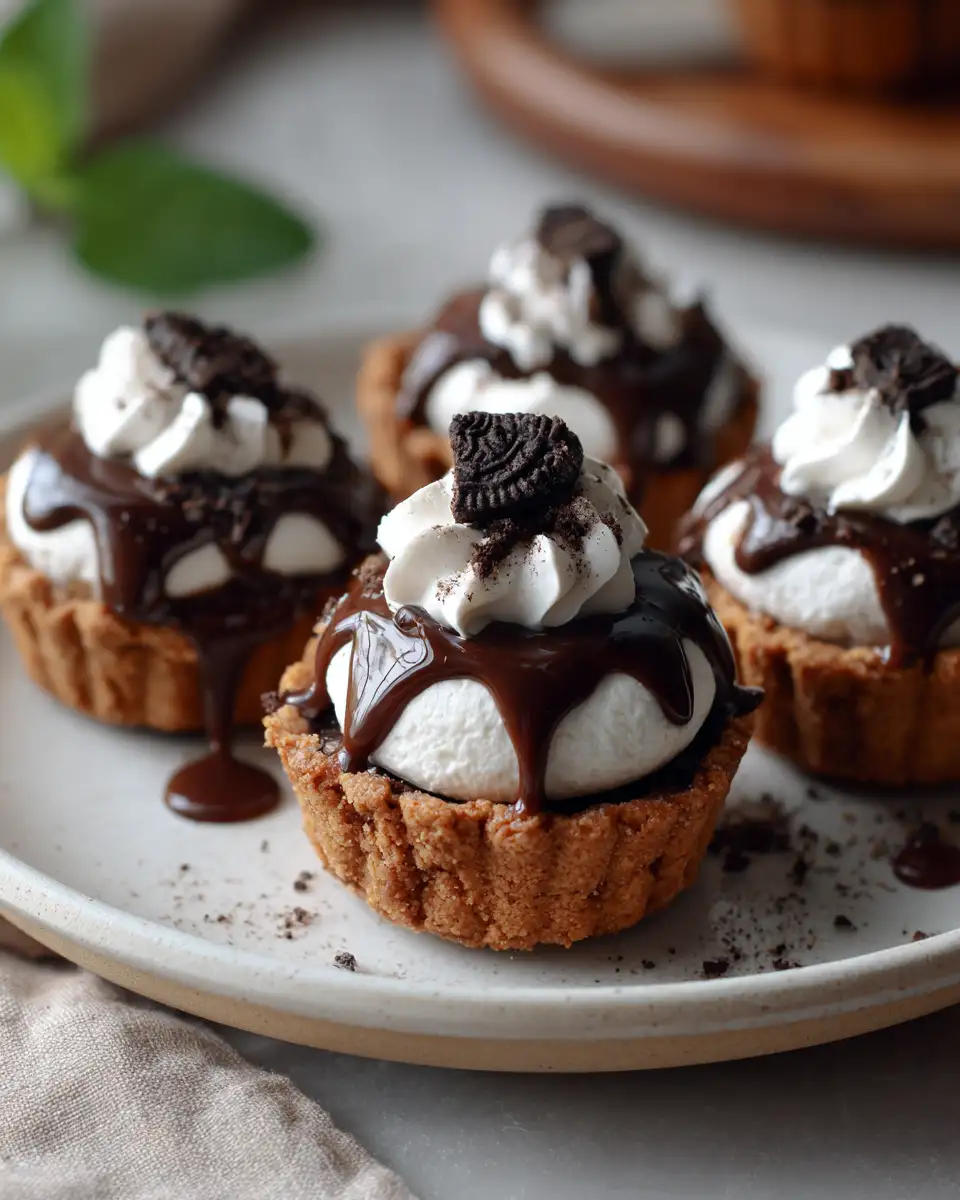
These Cream-Filled Cookie Cups are a sweet nod to my family’s love for combining flavors and textures in unexpected ways. Imagine biting into a crispy, golden cookie that cradles a smooth, creamy filling—it’s pure bliss! What I adore about this recipe is its versatility. Whether you’re enjoying them with a cup of coffee in the morning or serving them as a dessert at a dinner party, these cookie cups never fail to impress.
One of my fondest memories is of making similar treats with my grandmother during the holidays. She taught me that the secret to a perfect cookie is in the love and care you put into it. With these cups, you’ll not only experience that nostalgic feeling but also a modern twist that makes them unique. Plus, the fun of customizing the filling to suit your taste ensures that each batch can be a new adventure!
Ingredients You’ll Need for This Cream-Filled Cookie Cups
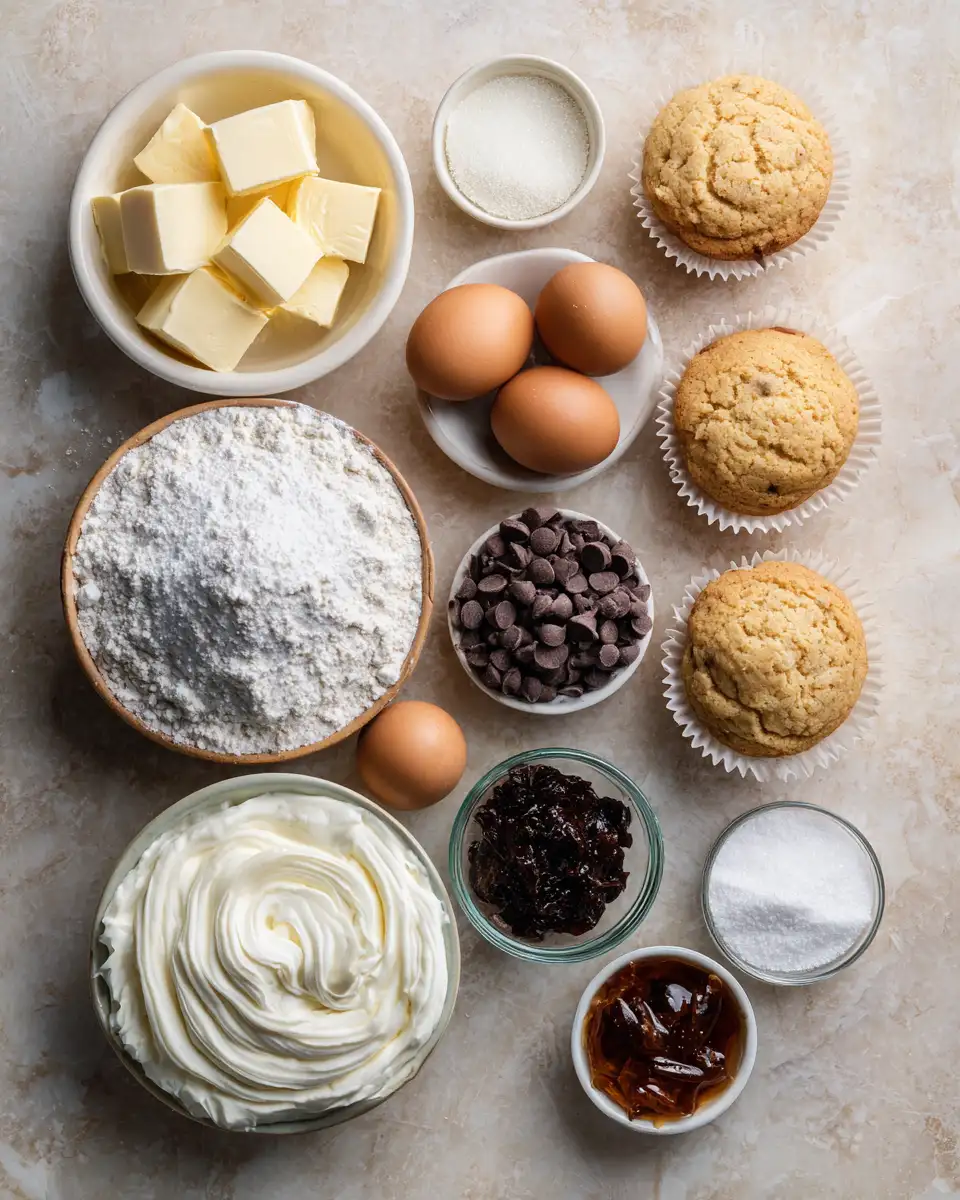
Gathering your ingredients is the first step in any culinary adventure. For these cookie cups, I’ve chosen ingredients that are both simple and flavorful, making it easy for you to whip up a batch any time the craving strikes.
- 1 cup unsalted butter, softened
- 1 cup granulated sugar
- 2 cups all-purpose flour
- 1/2 teaspoon baking powder
- 1/4 teaspoon salt
- 1 teaspoon vanilla extract
- 1 large egg
- 1 cup heavy cream
- 1/4 cup powdered sugar
- 1 teaspoon almond extract (optional)
- Chocolate chips or fruit preserves for filling (optional)
If you want to experiment, consider adding a touch of cinnamon or substituting almond flour for a portion of the all-purpose flour for a nuttier flavor. The possibilities are endless, just like the imaginative creations my grandmother and I used to dream up together.
Nutrition Facts
While these Cream-Filled Cookie Cups are a treat, it’s always good to know what you’re indulging in. Here’s the nutrition breakdown for each serving:
- Calories: 320 per serving
- Protein: 4g
- Fat: 18g
- Carbohydrates: 38g
- Fiber: 1g
- Sugar: 20g
- Sodium: 100mg
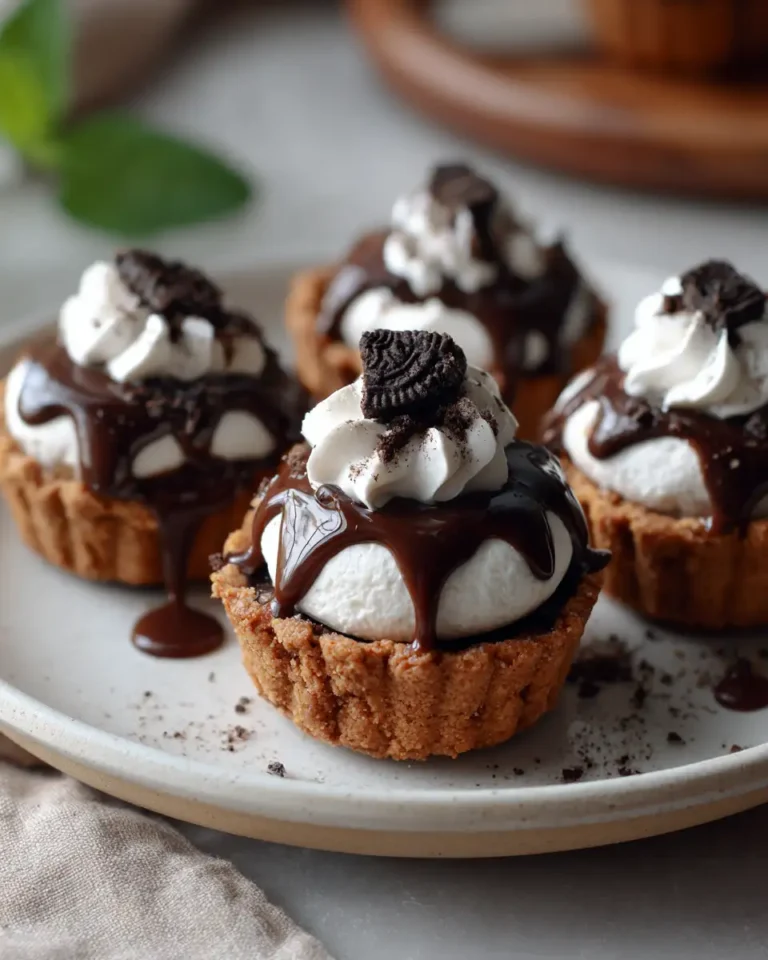
Indulge Your Sweet Tooth with Irresistible Cream-Filled Cookie Cups
Learn how to make delicious Cream-Filled Cookie Cups. Easy recipe with step-by-step instructions.
- Total Time: 45 minutes
- Yield: 4 servings
Ingredients
Gathering your ingredients is the first step in any culinary adventure. For these cookie cups, I’ve chosen ingredients that are both simple and flavorful, making it easy for you to whip up a batch any time the craving strikes.
- 1 cup unsalted butter, softened
- 1 cup granulated sugar
- 2 cups all-purpose flour
- 1/2 teaspoon baking powder
- 1/4 teaspoon salt
- 1 teaspoon vanilla extract
- 1 large egg
- 1 cup heavy cream
- 1/4 cup powdered sugar
- 1 teaspoon almond extract (optional)
- Chocolate chips or fruit preserves for filling (optional)
If you want to experiment, consider adding a touch of cinnamon or substituting almond flour for a portion of the all-purpose flour for a nuttier flavor. The possibilities are endless, just like the imaginative creations my grandmother and I used to dream up together.
Instructions
Now that you have your ingredients ready, let’s get baking! Follow these steps to create your delightful Cream-Filled Cookie Cups:
- Preheat your oven to 350°F (175°C). Grease a muffin tin to prepare it for the cookie cups.
- In a large mixing bowl, cream together the butter and granulated sugar until light and fluffy, about 3-4 minutes.
- Add the egg and vanilla extract, mixing until well combined.
- In a separate bowl, whisk together the flour, baking powder, and salt. Gradually add the dry ingredients to the wet mixture, mixing until a dough forms.
- Divide the dough into 12 equal parts. Press each piece into the prepared muffin tin, forming a cup shape.
- Bake for 12-15 minutes or until the edges are golden brown. Allow the cups to cool completely before removing from the tin.
- While the cups are cooling, prepare the cream filling by whipping the heavy cream, powdered sugar, and almond extract (if using) until stiff peaks form.
- Spoon or pipe the cream filling into the cooled cookie cups. Add chocolate chips or fruit preserves on top for extra flavor.
As you prepare these cups, remember the joy of creating something from scratch. It’s a lesson I cherished from my family kitchen—patience and love make all the difference.
- Prep Time: 15 minutes
- Cook Time: 30 minutes
- Category: Main Dish
- Method: Cooking
- Cuisine: International
Steps to Create Your Cream-Filled Cookie Cups
Now that you have your ingredients ready, let’s get baking! Follow these steps to create your delightful Cream-Filled Cookie Cups:
- Preheat your oven to 350°F (175°C). Grease a muffin tin to prepare it for the cookie cups.
- In a large mixing bowl, cream together the butter and granulated sugar until light and fluffy, about 3-4 minutes.
- Add the egg and vanilla extract, mixing until well combined.
- In a separate bowl, whisk together the flour, baking powder, and salt. Gradually add the dry ingredients to the wet mixture, mixing until a dough forms.
- Divide the dough into 12 equal parts. Press each piece into the prepared muffin tin, forming a cup shape.
- Bake for 12-15 minutes or until the edges are golden brown. Allow the cups to cool completely before removing from the tin.
- While the cups are cooling, prepare the cream filling by whipping the heavy cream, powdered sugar, and almond extract (if using) until stiff peaks form.
- Spoon or pipe the cream filling into the cooled cookie cups. Add chocolate chips or fruit preserves on top for extra flavor.
As you prepare these cups, remember the joy of creating something from scratch. It’s a lesson I cherished from my family kitchen—patience and love make all the difference.
Tips for Making the Best Cream-Filled Cookie Cups
Here are a few tips that will help you get the best results with your cookie cups:
- Chill the dough: If the dough feels too soft, chill it for 15-20 minutes before shaping into cups. This makes it easier to handle.
- Watch the edges: Keep an eye on the edges of the cookie cups as they bake. The golden brown hue is your cue that they’re ready.
- Experiment with fillings: Don’t hesitate to try different fillings. Nutella, lemon curd, or even a dash of espresso powder in the cream can elevate the flavor profile.
These tips are drawn from years of baking alongside my mom, who always encouraged me to tweak recipes to my liking.
Serving Suggestions and Pairings

These Cream-Filled Cookie Cups are quite versatile when it comes to serving. They make a delightful addition to a brunch spread or a sweet ending to a hearty meal. Pair them with a hot cup of Mexican coffee or a chilled glass of milk for a comforting experience.
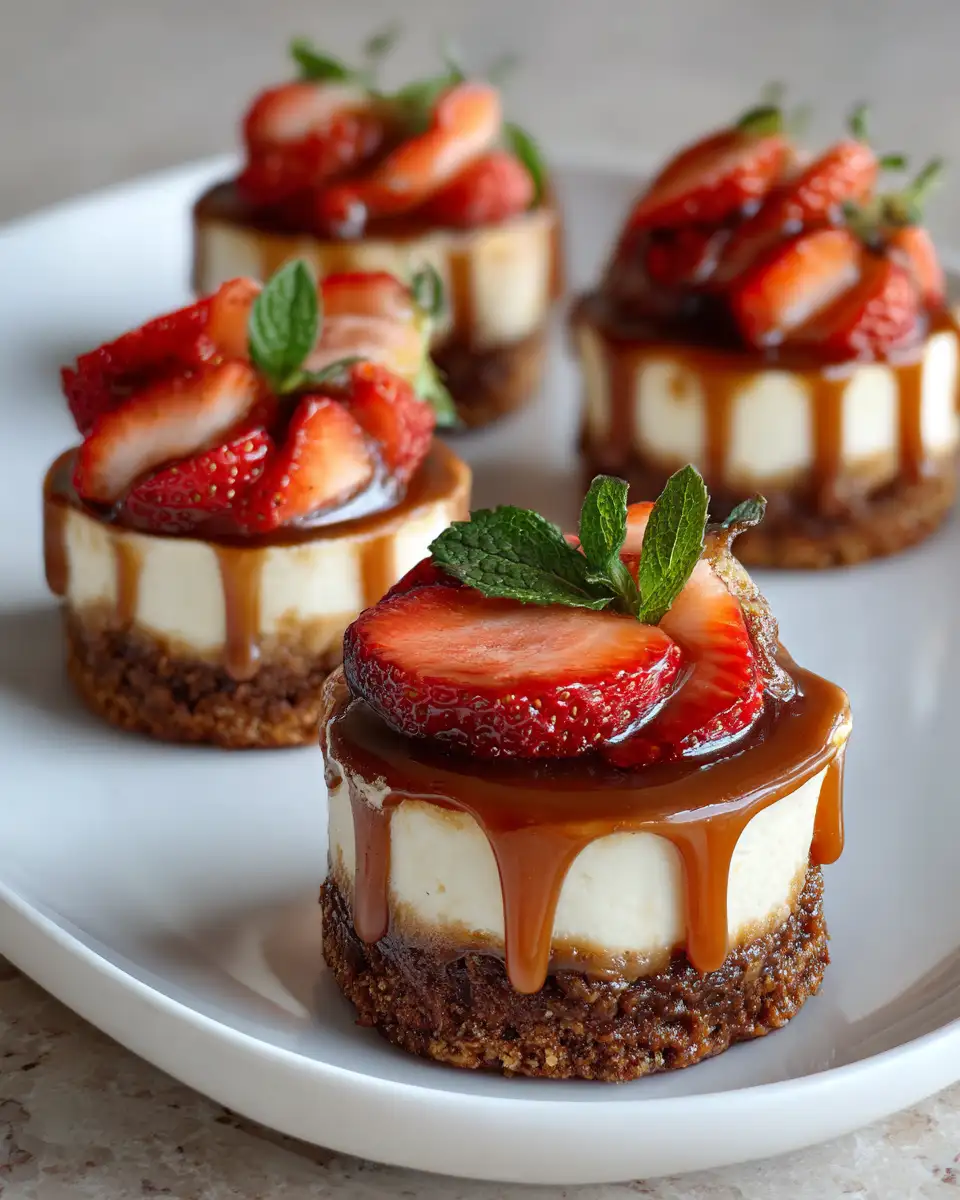
If you’re serving these at a party, consider plating them with fresh berries or mint sprigs for a pop of color and freshness. The contrast between the creamy filling and the vibrant berries is a feast for both the eyes and the palate.
Storage and Reheating Tips
To store your cookie cups, place them in an airtight container and refrigerate for up to 3 days. If you’ve made a large batch, you can freeze them (without the filling) for up to a month. Just thaw them at room temperature before adding the cream filling.
For reheating, if you prefer your cookies warm, a quick 5-second zap in the microwave will do the trick. However, be cautious not to melt the cream filling!
Frequently Asked Questions
What are the main ingredients for Cream-Filled Cookie Cups?
The main ingredients for Cream-Filled Cookie Cups include the items listed in our ingredients section above. Each ingredient plays a crucial role in achieving the perfect flavor and texture.
How long does it take to make Cream-Filled Cookie Cups?
The total time to make Cream-Filled Cookie Cups includes both preparation and cooking time. Check the recipe card above for exact timing details.
Can I make Cream-Filled Cookie Cups ahead of time?
Yes, Cream-Filled Cookie Cups can often be prepared in advance. Store it properly in an airtight container in the refrigerator and consume within the recommended timeframe.
What can I serve with Cream-Filled Cookie Cups?
Cream-Filled Cookie Cups pairs well with various sides and accompaniments. Consider the serving suggestions mentioned in the recipe for the best dining experience.
Is Cream-Filled Cookie Cups suitable for special diets?
Depending on the ingredients used, Cream-Filled Cookie Cups may be adapted for various dietary needs. Check the ingredients list and consider substitutions as needed for your dietary requirements.
Final Thoughts
These Cream-Filled Cookie Cups are more than just a recipe—they’re a testament to the love and creativity that was instilled in me from a young age. I hope you find as much joy in making them as I do. Whether it’s a quiet afternoon treat or the highlight of your next gathering, these cups are sure to bring smiles and perhaps inspire a few kitchen memories of your own.
Remember, the best part of cooking is sharing it with others, so don’t hesitate to pass this recipe along to friends and family. Happy baking!