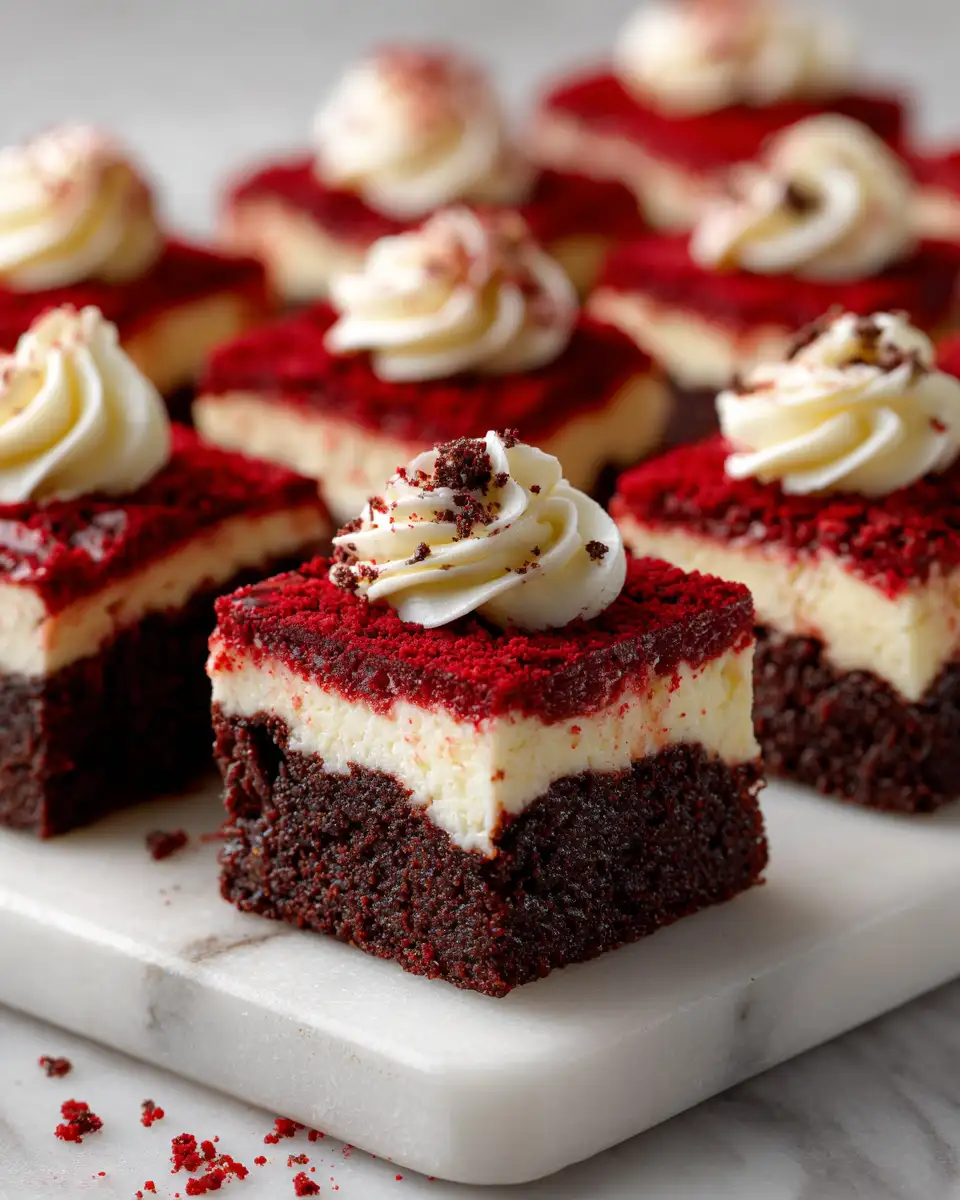
The first time I sunk my teeth into Red Velvet Cheesecake Brownie Bites, I was instantly transported back to my childhood kitchen in Asheville, North Carolina. Our home was a bustling hub of culinary experimentation and vibrant flavors, thanks to my Mexican-American heritage. The fusion of rich chocolate, tangy cream cheese, and that signature red velvet hue in these bites brings a sense of warmth and nostalgia that I can’t wait to share with you. These little delights are perfect for any occasion, whether you’re hosting a party or simply indulging in a cozy night in.
Why You’ll Love This Red Velvet Cheesecake Brownie Bites
Growing up in a family where food was a language of love, I’ve always appreciated recipes that bring people together. These Red Velvet Cheesecake Brownie Bites do just that with their irresistible blend of flavors and textures. You’ll adore the way the fudgy brownie base, creamy cheesecake layer, and velvety red velvet topping come together in a harmonious bite. They’re also incredibly versatile—perfect for celebrations or as a sweet treat to lift your spirits on a weekday. Whether you’re a seasoned baker or a novice in the kitchen, this recipe is approachable and rewarding, offering a taste of my heritage with every bite.
Ingredients You’ll Need for This Red Velvet Cheesecake Brownie Bites
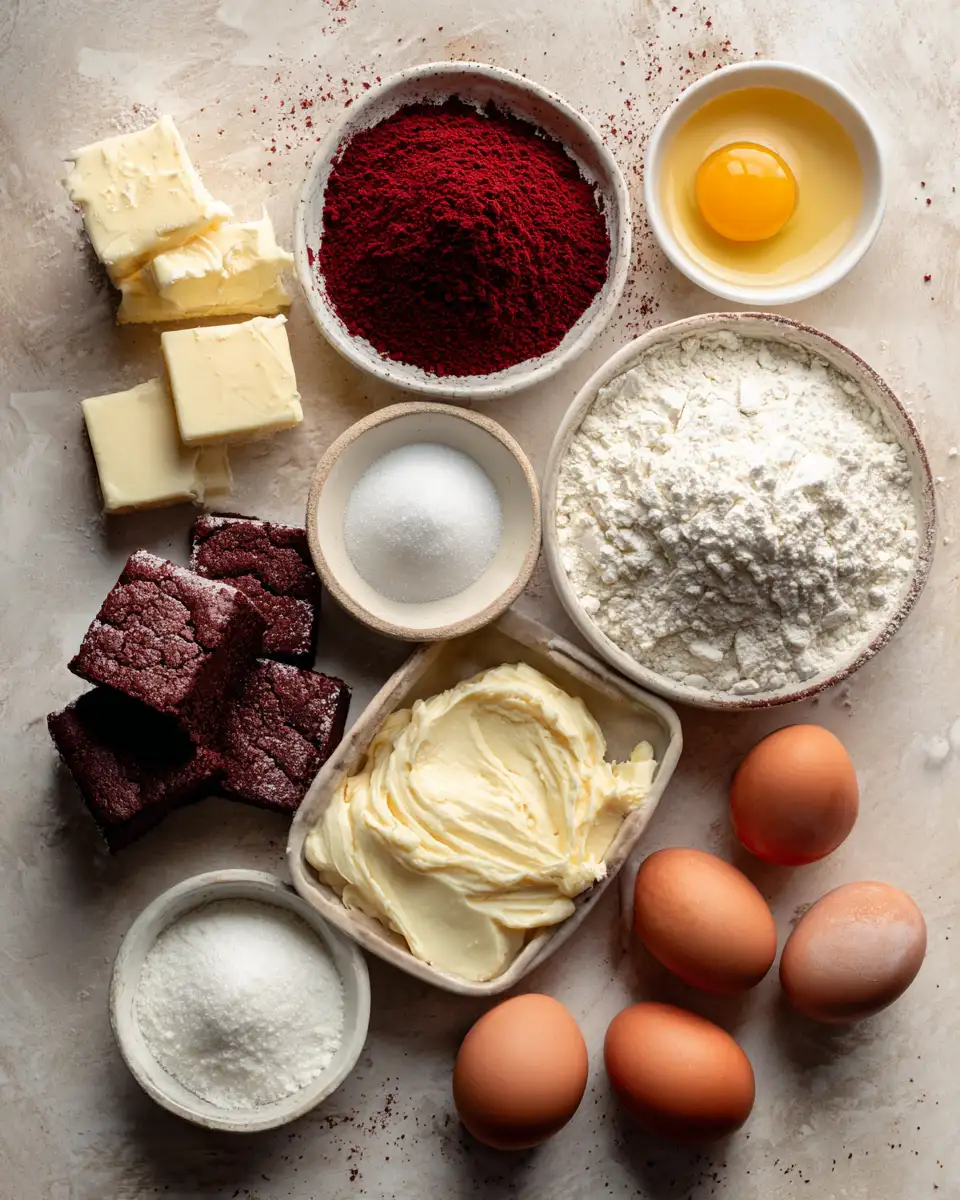
- 1 cup all-purpose flour
- 1/2 cup unsweetened cocoa powder
- 1/4 teaspoon baking powder
- 1/4 teaspoon salt
- 1/2 cup unsalted butter, melted
- 1 cup granulated sugar
- 2 large eggs
- 1 teaspoon vanilla extract
- 1 tablespoon red food coloring
- 8 ounces cream cheese, softened
- 1/4 cup granulated sugar (for cheesecake layer)
- 1 large egg (for cheesecake layer)
- 1/2 teaspoon vanilla extract (for cheesecake layer)
If you’re out of red food coloring, beet juice is a natural substitute that works wonderfully. For a deeper flavor, try substituting half of the cocoa powder with dark cocoa powder.
Nutrition Facts
- Calories: 250 per serving
- Protein: 4g
- Fat: 12g
- Carbohydrates: 32g
- Fiber: 1g
- Sugar: 23g
- Sodium: 150mg
These bites are a sweet indulgence, and while they aren’t a daily staple, they offer a delightful treat for those special moments. Moderation is key, as my Abuela always said while serving us her famous flan.
Print
Indulge in Irresistible Red Velvet Cheesecake Brownie Bites
Learn how to make delicious Red Velvet Cheesecake Brownie Bites. Easy recipe with step-by-step instructions.
- Total Time: 45 minutes
- Yield: 4 servings
Ingredients
- 1 cup all-purpose flour
- 1/2 cup unsweetened cocoa powder
- 1/4 teaspoon baking powder
- 1/4 teaspoon salt
- 1/2 cup unsalted butter, melted
- 1 cup granulated sugar
- 2 large eggs
- 1 teaspoon vanilla extract
- 1 tablespoon red food coloring
- 8 ounces cream cheese, softened
- 1/4 cup granulated sugar (for cheesecake layer)
- 1 large egg (for cheesecake layer)
- 1/2 teaspoon vanilla extract (for cheesecake layer)
If you’re out of red food coloring, beet juice is a natural substitute that works wonderfully. For a deeper flavor, try substituting half of the cocoa powder with dark cocoa powder.
Instructions
- Preheat your oven to 350°F (175°C) and line a 9×9-inch baking pan with parchment paper, leaving some overhang for easy removal.
- In a medium bowl, whisk together the flour, cocoa powder, baking powder, and salt. Set aside.
- In a large bowl, combine the melted butter and granulated sugar. Beat in the eggs, one at a time, followed by the vanilla extract and red food coloring.
- Gradually fold the dry ingredients into the wet ingredients until just combined. Be mindful not to overmix; a few lumps are perfectly fine.
- Pour about two-thirds of the batter into the prepared baking pan, spreading it evenly to cover the bottom.
- In a separate bowl, beat the softened cream cheese, sugar, egg, and vanilla extract until smooth and creamy. Spread this cheesecake mixture over the brownie layer in the pan.
- Dollop the remaining brownie batter over the cheesecake layer, using a knife to gently swirl the layers together. Aim for a marbled effect that will be visually stunning once baked.
- Bake in the preheated oven for 30-35 minutes, or until the edges are set and the center is slightly jiggly. A toothpick inserted into the center should come out with a few moist crumbs.
- Allow the bites to cool in the pan for at least an hour before lifting them out using the parchment overhang. Slice into bite-sized squares and enjoy.
As you bake, remember that cooking is as much about the journey as it is the destination. Embrace the process, and don’t stress over perfection.
- Prep Time: 15 minutes
- Cook Time: 30 minutes
- Category: Main Dish
- Method: Cooking
- Cuisine: International
Steps to Create Your Red Velvet Cheesecake Brownie Bites
- Preheat your oven to 350°F (175°C) and line a 9×9-inch baking pan with parchment paper, leaving some overhang for easy removal.
- In a medium bowl, whisk together the flour, cocoa powder, baking powder, and salt. Set aside.
- In a large bowl, combine the melted butter and granulated sugar. Beat in the eggs, one at a time, followed by the vanilla extract and red food coloring.
- Gradually fold the dry ingredients into the wet ingredients until just combined. Be mindful not to overmix; a few lumps are perfectly fine.
- Pour about two-thirds of the batter into the prepared baking pan, spreading it evenly to cover the bottom.
- In a separate bowl, beat the softened cream cheese, sugar, egg, and vanilla extract until smooth and creamy. Spread this cheesecake mixture over the brownie layer in the pan.
- Dollop the remaining brownie batter over the cheesecake layer, using a knife to gently swirl the layers together. Aim for a marbled effect that will be visually stunning once baked.
- Bake in the preheated oven for 30-35 minutes, or until the edges are set and the center is slightly jiggly. A toothpick inserted into the center should come out with a few moist crumbs.
- Allow the bites to cool in the pan for at least an hour before lifting them out using the parchment overhang. Slice into bite-sized squares and enjoy.
As you bake, remember that cooking is as much about the journey as it is the destination. Embrace the process, and don’t stress over perfection.
Tips for Making the Best Red Velvet Cheesecake Brownie Bites
One of the keys to achieving the perfect texture is not overbaking. Trust your instincts, and remember that the bites will continue to set as they cool. If you’re feeling adventurous, add in a handful of chocolate chips or chopped nuts for added texture. My family would often add pecans, a nod to our Southern roots. And if you’re preparing for a crowd, these bites can easily be doubled to fit a larger pan.
Serving Suggestions and Pairings
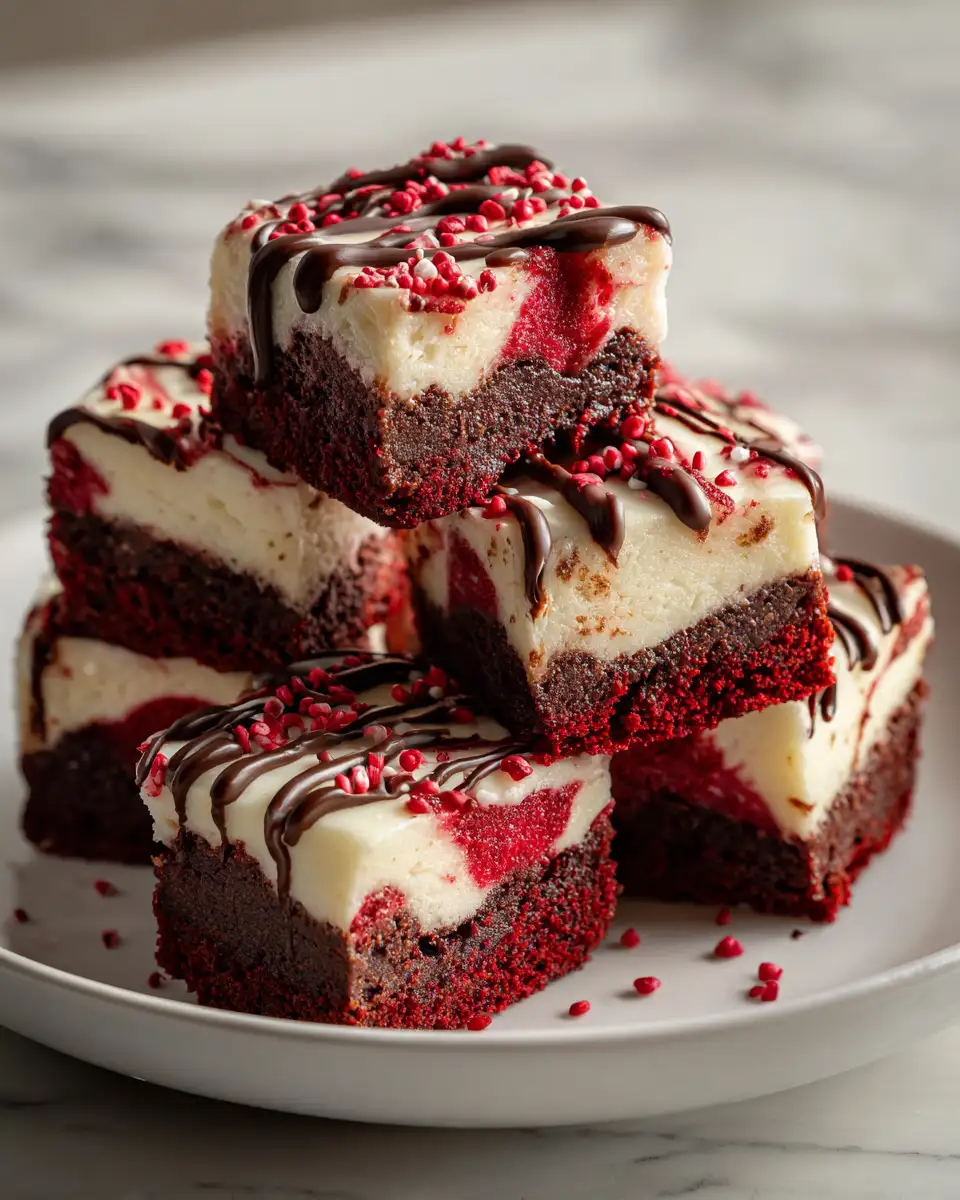
These Red Velvet Cheesecake Brownie Bites are delightful on their own, but if you’re looking to elevate the experience, consider serving them with a dollop of whipped cream or a scoop of vanilla ice cream. A sprinkle of powdered sugar can add an elegant touch, making them perfect for a tea party or an afternoon coffee with friends. My personal favorite pairing is a steaming cup of Mexican hot chocolate, which complements the rich flavors beautifully.
Storage and Reheating Tips
To store your Red Velvet Cheesecake Brownie Bites, place them in an airtight container and refrigerate for up to a week. If you’d like to extend their shelf life, they can be frozen for up to three months. Simply wrap each bite individually in plastic wrap before placing them in a freezer-safe bag. When you’re ready to enjoy, thaw them in the refrigerator overnight. For that oven-fresh taste, reheat them slightly in a low oven or microwave.
Frequently Asked Questions
What are the main ingredients for Red Velvet Cheesecake Brownie Bites?
The main ingredients for Red Velvet Cheesecake Brownie Bites include the items listed in our ingredients section above. Each ingredient plays a crucial role in achieving the perfect flavor and texture.
How long does it take to make Red Velvet Cheesecake Brownie Bites?
The total time to make Red Velvet Cheesecake Brownie Bites includes both preparation and cooking time. Check the recipe card above for exact timing details.
Can I make Red Velvet Cheesecake Brownie Bites ahead of time?
Yes, Red Velvet Cheesecake Brownie Bites can often be prepared in advance. Store it properly in an airtight container in the refrigerator and consume within the recommended timeframe.
What can I serve with Red Velvet Cheesecake Brownie Bites?
Red Velvet Cheesecake Brownie Bites pairs well with various sides and accompaniments. Consider the serving suggestions mentioned in the recipe for the best dining experience.
Is Red Velvet Cheesecake Brownie Bites suitable for special diets?
Depending on the ingredients used, Red Velvet Cheesecake Brownie Bites may be adapted for various dietary needs. Check the ingredients list and consider substitutions as needed for your dietary requirements.
Final Thoughts
Creating these Red Velvet Cheesecake Brownie Bites is more than just following a recipe; it’s about bringing a slice of my heritage and love for food into your kitchen. Each bite is a celebration of flavors that remind me of home and the warmth of family gatherings. I hope they bring you as much joy as they have brought me and my loved ones over the years. Whether you savor them in solitude or share them with friends, know that you’re indulging in a little piece of my culinary story.