
There’s something indescribably comforting about the aroma of waffles wafting through a home, and when those waffles happen to be Red Velvet Marble Waffles, well, that’s a recipe for pure magic. Growing up in Asheville, North Carolina, where the mountains meet the sky and the food scene is as vibrant as the fall foliage, I was fortunate to experience food as more than just sustenance. In our Mexican-American household, the kitchen was the epicenter of laughter, love, and sometimes a little chaos. It’s from those roots that I draw my inspiration as a food lover, recipe developer, and writer. Today, I want to share with you my take on Red Velvet Marble Waffles, a dish that beautifully marries my love for classic Southern fare with a twist of elegance.
Why You’ll Love This Red Velvet Marble Waffles
These Red Velvet Marble Waffles are not just another breakfast option—they are an experience. Imagine the rich, velvety taste of red velvet cake combined with the crisp, golden perfection of waffles. It’s a match made in heaven that turns any morning into a celebration. The first time I created these waffles was for a Sunday brunch with my family. We gathered around the table, and as each waffle came off the iron, I could see the delight in everyone’s eyes. It’s the kind of dish that brings people together, reminiscent of those cozy mornings back home in Asheville.
What makes these waffles truly special is the marbling effect, which is not only visually stunning but also ensures you get a bit of both flavors in every bite. If you’re looking to impress your family or simply treat yourself, these waffles have your back. Plus, they’re versatile enough to be dressed up or enjoyed simply with a dusting of powdered sugar.
Ingredients You’ll Need for This Red Velvet Marble Waffles
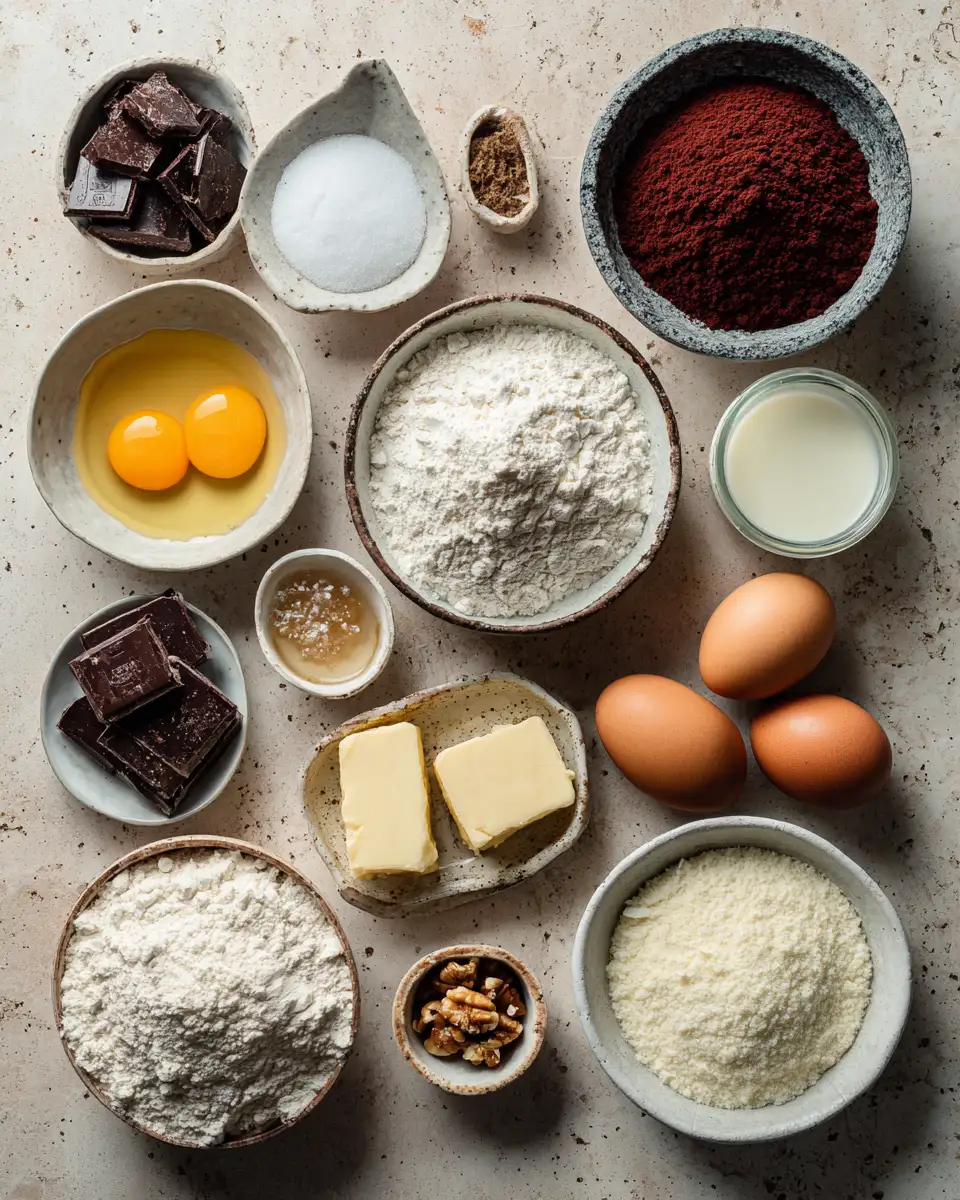
Gather these ingredients to embark on a culinary journey that’s as delightful to make as it is to eat:
- 2 cups all-purpose flour
- 1/2 cup granulated sugar
- 3 tablespoons cocoa powder
- 1 tablespoon baking powder
- 1/2 teaspoon salt
- 2 large eggs
- 1 3/4 cups buttermilk
- 1/2 cup unsalted butter, melted
- 2 teaspoons vanilla extract
- 1 tablespoon red food coloring
- Optional: chocolate chips or chopped nuts for texture
If you’re out of buttermilk, no worries! You can easily substitute by mixing 1 3/4 cups of regular milk with 1 tablespoon of lemon juice or white vinegar and letting it sit for a few minutes. It’s a trick my grandmother taught me, and it never fails.
Nutrition Facts
Understanding what goes into your food is important, so here’s a breakdown of the nutritional content per serving of Red Velvet Marble Waffles:
- Calories: 380 per serving
- Protein: 7g
- Fat: 18g
- Carbohydrates: 48g
- Fiber: 2g
- Sugar: 20g
- Sodium: 370mg

Swirl Into Bliss with Red Velvet Marble Waffles
Learn how to make delicious Red Velvet Marble Waffles. Easy recipe with step-by-step instructions.
- Total Time: 45 minutes
- Yield: 4 servings
Ingredients
Gather these ingredients to embark on a culinary journey that’s as delightful to make as it is to eat:
- 2 cups all-purpose flour
- 1/2 cup granulated sugar
- 3 tablespoons cocoa powder
- 1 tablespoon baking powder
- 1/2 teaspoon salt
- 2 large eggs
- 1 3/4 cups buttermilk
- 1/2 cup unsalted butter, melted
- 2 teaspoons vanilla extract
- 1 tablespoon red food coloring
- Optional: chocolate chips or chopped nuts for texture
If you’re out of buttermilk, no worries! You can easily substitute by mixing 1 3/4 cups of regular milk with 1 tablespoon of lemon juice or white vinegar and letting it sit for a few minutes. It’s a trick my grandmother taught me, and it never fails.
Instructions
- Preheat your waffle iron according to the manufacturer’s instructions. Trust me, this step is key to achieving that perfect crispy texture.
- In a large bowl, whisk together the flour, sugar, cocoa powder, baking powder, and salt.
- In another bowl, beat the eggs and then add in the buttermilk, melted butter, and vanilla extract.
- Pour the wet ingredients into the dry ingredients, mixing gently until just combined. Overmixing can lead to tough waffles, a lesson I learned the hard way during my early cooking adventures.
- Divide the batter in half. To one half, add the red food coloring and stir until fully incorporated.
- Lightly grease the waffle iron with cooking spray or a little bit of melted butter. This helps in getting that golden crust we all love.
- For each waffle, pour a mix of the plain and red batter onto the waffle iron, swirling lightly with a spatula or knife to create the marble effect. Close the lid and cook until the waffles are crisp and cooked through, about 4-5 minutes.
- Carefully remove the waffles and serve immediately, or keep warm in a preheated oven while you finish cooking the rest.
- Prep Time: 15 minutes
- Cook Time: 30 minutes
- Category: Main Dish
- Method: Cooking
- Cuisine: International
Steps to Create Your Red Velvet Marble Waffles
- Preheat your waffle iron according to the manufacturer’s instructions. Trust me, this step is key to achieving that perfect crispy texture.
- In a large bowl, whisk together the flour, sugar, cocoa powder, baking powder, and salt.
- In another bowl, beat the eggs and then add in the buttermilk, melted butter, and vanilla extract.
- Pour the wet ingredients into the dry ingredients, mixing gently until just combined. Overmixing can lead to tough waffles, a lesson I learned the hard way during my early cooking adventures.
- Divide the batter in half. To one half, add the red food coloring and stir until fully incorporated.
- Lightly grease the waffle iron with cooking spray or a little bit of melted butter. This helps in getting that golden crust we all love.
- For each waffle, pour a mix of the plain and red batter onto the waffle iron, swirling lightly with a spatula or knife to create the marble effect. Close the lid and cook until the waffles are crisp and cooked through, about 4-5 minutes.
- Carefully remove the waffles and serve immediately, or keep warm in a preheated oven while you finish cooking the rest.
Tips for Making the Best Red Velvet Marble Waffles
Over the years, I’ve picked up a few tricks to ensure these waffles turn out perfectly every time.
First, always use fresh baking powder—old baking powder can lead to flat, dense waffles. I remember one holiday morning when I learned this lesson the hard way, serving a batch that was less than impressive. Now, I always check the expiration date.
Secondly, don’t overfill the waffle iron. It might be tempting to pour in more batter, but it’ll only result in a mess and unevenly cooked waffles. A little patience goes a long way here.
Serving Suggestions and Pairings

These Red Velvet Marble Waffles are delightful on their own, but why stop there? Top them with a dollop of cream cheese frosting for a true red velvet experience. Fresh berries or a drizzle of maple syrup can add a touch of brightness and sweetness.
If you’re hosting a brunch, consider pairing them with crispy bacon or savory sausage links, balancing the sweetness with some savory flavors. In our house, a pot of freshly brewed coffee or a pitcher of iced tea complements the meal perfectly, bringing back memories of lazy Sundays in Asheville.
Storage and Reheating Tips
If you happen to have leftovers, these waffles store wonderfully. Allow them to cool completely, then layer them with parchment paper in an airtight container and refrigerate for up to 3 days.
For longer storage, freeze them for up to a month. To reheat, pop them in a toaster or toaster oven until crispy and warm, just like the day you made them. I always make a double batch to have some on hand for those busy mornings when I need a quick, delicious breakfast.
Frequently Asked Questions
What are the main ingredients for Red Velvet Marble Waffles?
The main ingredients for Red Velvet Marble Waffles include the items listed in our ingredients section above. Each ingredient plays a crucial role in achieving the perfect flavor and texture.
How long does it take to make Red Velvet Marble Waffles?
The total time to make Red Velvet Marble Waffles includes both preparation and cooking time. Check the recipe card above for exact timing details.
Can I make Red Velvet Marble Waffles ahead of time?
Yes, Red Velvet Marble Waffles can often be prepared in advance. Store it properly in an airtight container in the refrigerator and consume within the recommended timeframe.
What can I serve with Red Velvet Marble Waffles?
Red Velvet Marble Waffles pairs well with various sides and accompaniments. Consider the serving suggestions mentioned in the recipe for the best dining experience.
Is Red Velvet Marble Waffles suitable for special diets?
Depending on the ingredients used, Red Velvet Marble Waffles may be adapted for various dietary needs. Check the ingredients list and consider substitutions as needed for your dietary requirements.
Final Thoughts
Creating these Red Velvet Marble Waffles is more than just making breakfast; it’s about crafting a moment, a memory that lingers long after the last bite. It’s about connecting with loved ones and sharing a piece of yourself through food. In my kitchen, these waffles are a nod to the past with a touch of modern flair, a reminder of my roots in Asheville and the rich culinary traditions that continue to inspire me. I hope they bring as much joy to your table as they do to mine.