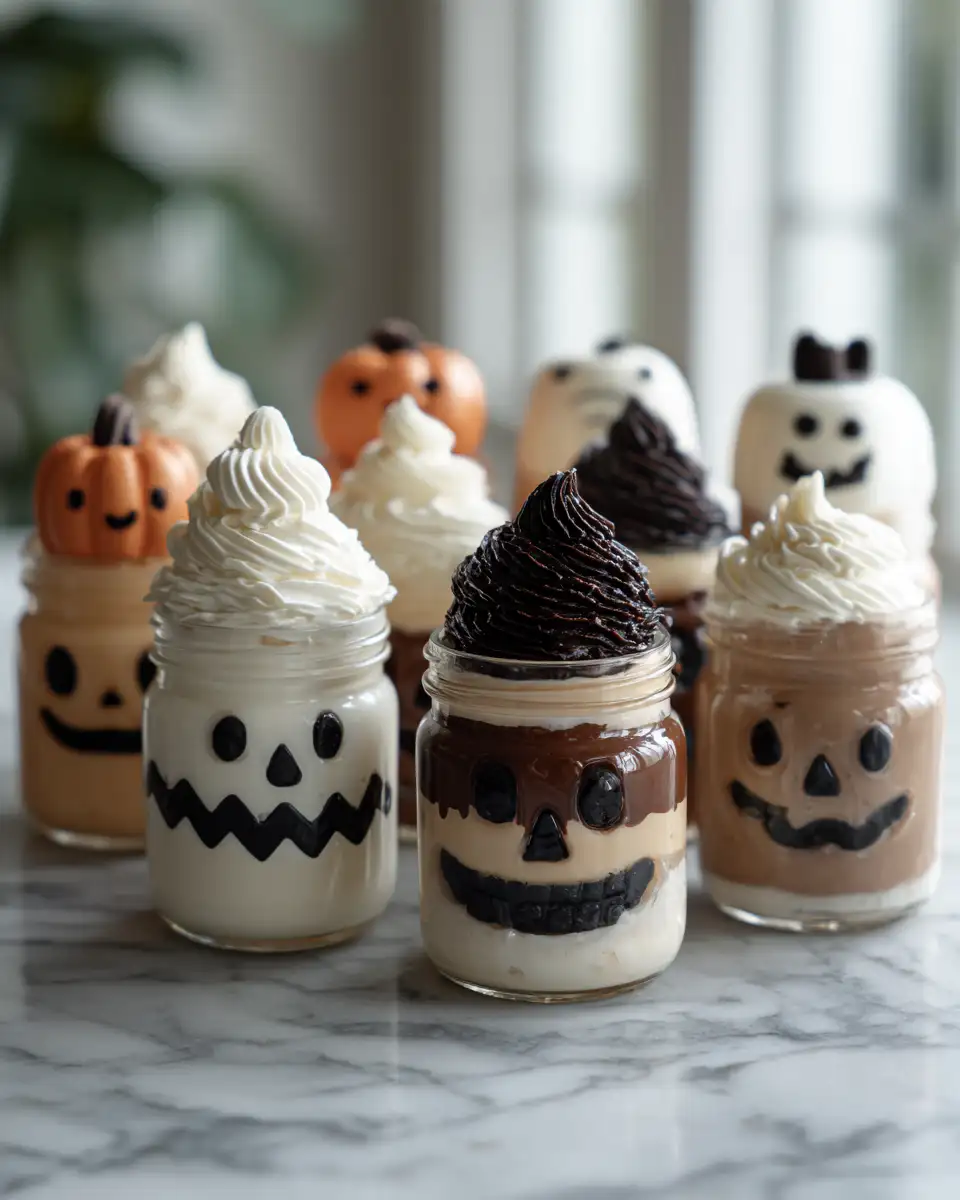
Halloween is just around the corner, and there’s no better way to celebrate than with a spooky treat that’s as fun to make as it is to eat: Graveyard Pudding Cups. Growing up in Asheville, North Carolina, in a lively Mexican-American household, we always embraced the festive spirit of Día de los Muertos, and these pudding cups fit right into our traditions. The kitchen buzzed with energy, and I remember my abuela’s laughter as we concocted playful desserts like these that brought a bit of ghoulish delight to our family gatherings. Today, I’m excited to share this delightful recipe that combines my love for playful culinary creations with the warmth and spirit of my family heritage.
Why You’ll Love This Graveyard Pudding Cups
These Graveyard Pudding Cups are more than just a Halloween treat; they’re a delightful experience that brings smiles to faces both young and old. I love them because they remind me of those cherished moments in my childhood kitchen, where creativity knew no bounds. The recipe is simple enough for kids to lend a hand, making it a perfect activity for family bonding. The combination of creamy pudding, crumbly cookie “dirt,” and spooky decorations creates a layered dessert that’s both visually striking and deliciously satisfying. Whether you’re hosting a Halloween party or just looking for a fun way to involve your kids in the kitchen, these pudding cups are sure to become a beloved tradition.
Ingredients You’ll Need for This Graveyard Pudding Cups
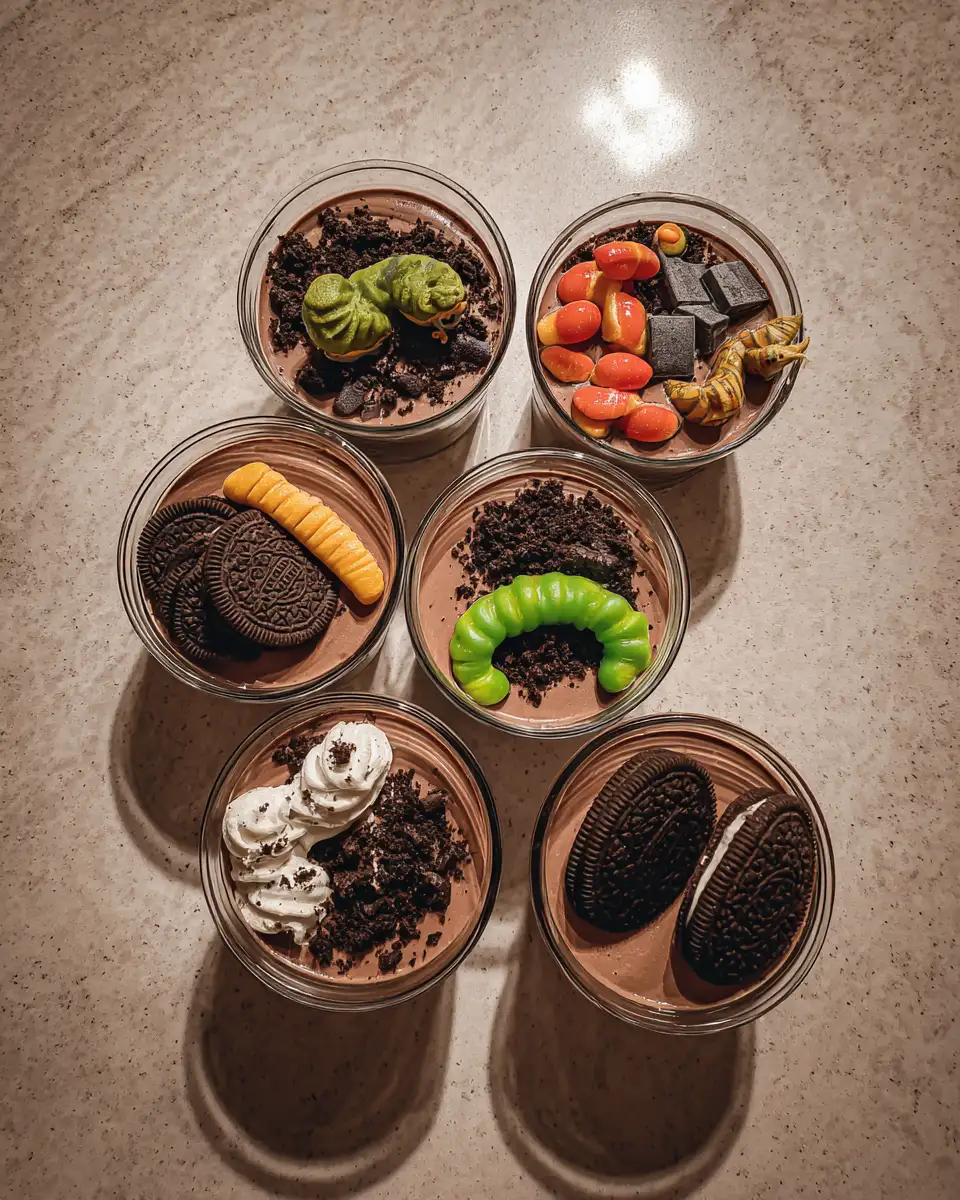
- 2 cups whole milk
- 1 package (3.4 oz) instant chocolate pudding mix
- 1 cup crushed chocolate sandwich cookies, plus extra for decoration
- 1 cup whipped topping
- 8-10 gummy worms
- 8-10 oval-shaped cookies (like Milano), for tombstones
- Black icing gel
Nutrition Facts
- Calories: 210 per serving
- Protein: 3g
- Fat: 8g
- Carbohydrates: 32g
- Fiber: 1g
- Sugar: 20g
- Sodium: 250mg
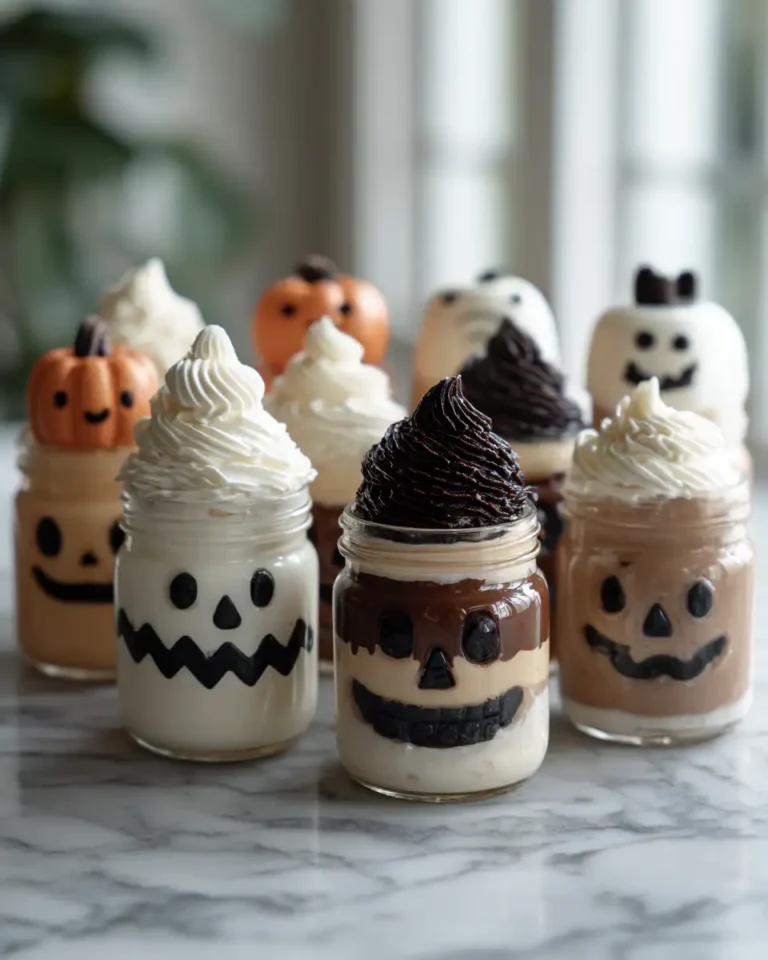
Spook-tacular Graveyard Pudding Cups for a Hauntingly Delicious Treat
Learn how to make delicious Graveyard Pudding Cups. Easy recipe with step-by-step instructions.
- Total Time: 45 minutes
- Yield: 4 servings
Ingredients
- 2 cups whole milk
- 1 package (3.4 oz) instant chocolate pudding mix
- 1 cup crushed chocolate sandwich cookies, plus extra for decoration
- 1 cup whipped topping
- 8-10 gummy worms
- 8-10 oval-shaped cookies (like Milano), for tombstones
- Black icing gel
Instructions
- In a medium mixing bowl, whisk together the milk and instant chocolate pudding mix for about 2 minutes, until the mixture begins to thicken. Let it set for 5 minutes.
- Fold in the whipped topping gently until fully incorporated to achieve a light and airy texture.
- Spoon a layer of the pudding mixture into the bottom of your serving cups, filling each about halfway.
- Sprinkle a generous layer of crushed chocolate sandwich cookies over the pudding to create the “dirt” layer.
- Using the black icing gel, write spooky phrases such as “RIP” or “BOO” on each oval-shaped cookie to create the tombstones.
- Insert a decorated cookie into each pudding cup, standing upright against the side.
- Top each cup with a couple of gummy worms, letting them peek out of the “dirt.”
- For an extra crunchy texture, sprinkle additional cookie crumbs on top as desired.
- Prep Time: 15 minutes
- Cook Time: 30 minutes
- Category: Main Dish
- Method: Cooking
- Cuisine: International
Steps to Create Your Graveyard Pudding Cups
- In a medium mixing bowl, whisk together the milk and instant chocolate pudding mix for about 2 minutes, until the mixture begins to thicken. Let it set for 5 minutes.
- Fold in the whipped topping gently until fully incorporated to achieve a light and airy texture.
- Spoon a layer of the pudding mixture into the bottom of your serving cups, filling each about halfway.
- Sprinkle a generous layer of crushed chocolate sandwich cookies over the pudding to create the “dirt” layer.
- Using the black icing gel, write spooky phrases such as “RIP” or “BOO” on each oval-shaped cookie to create the tombstones.
- Insert a decorated cookie into each pudding cup, standing upright against the side.
- Top each cup with a couple of gummy worms, letting them peek out of the “dirt.”
- For an extra crunchy texture, sprinkle additional cookie crumbs on top as desired.
Tips for Making the Best Graveyard Pudding Cups
Having spent countless hours in the kitchen perfecting recipes, I’ve learned that the key to a successful Graveyard Pudding Cup lies in the details. Here are a few tips to ensure your pudding cups are a hit: First, use high-quality chocolate sandwich cookies for the “dirt” to enhance the flavor and texture. If you’re short on time, swap out homemade whipped topping with store-bought options; they work just as well. For a fun twist, consider adding a dash of cinnamon to the pudding for a bit of warmth that nods to my family’s love for spice in our desserts. Lastly, involve your kids in the decoration process—it’s a wonderful way to pass down culinary traditions while letting their imaginations run wild.
Serving Suggestions and Pairings
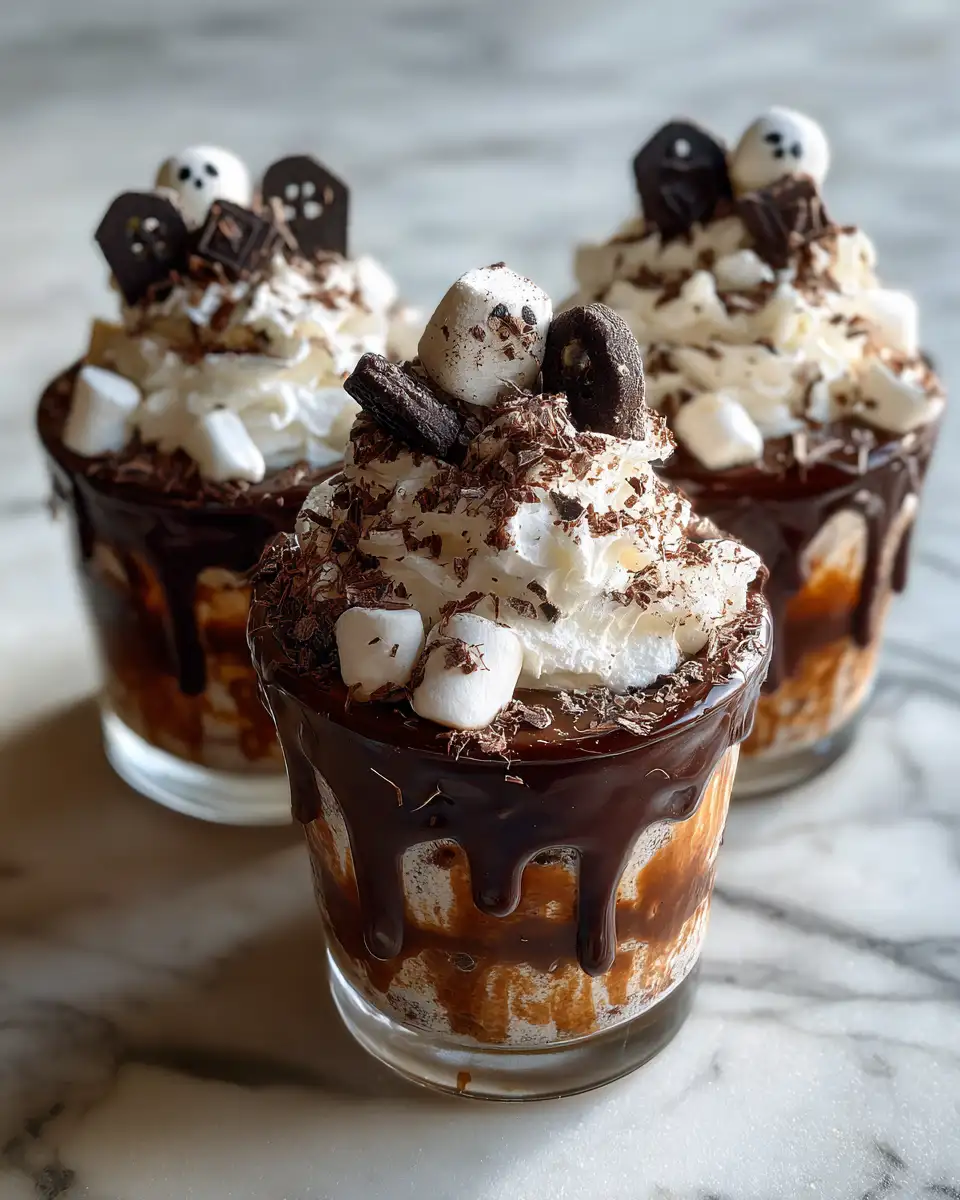
These Graveyard Pudding Cups are delightful on their own, but if you’re looking to create a Halloween spread, consider pairing them with a hot chocolate bar, complete with an array of mix-ins like mini marshmallows and cinnamon sticks. The contrast between the warm drink and the chilled pudding cups is simply irresistible. For a savory balance, serve alongside cheesy quesadillas—another family favorite that ties back to our Mexican-American roots. The combination of sweet and savory will have your guests raving long after the party is over.
Storage and Reheating Tips
If you’re planning to make these pudding cups ahead of time, they can be stored in the refrigerator for up to 2 days. Cover each cup with plastic wrap to prevent the “dirt” from becoming soggy. While these pudding cups are best enjoyed fresh, if you find yourself with leftovers, simply give them a quick stir to refresh the texture before serving. Unfortunately, these aren’t suitable for freezing due to the whipped topping, but they’re so delicious that I doubt you’ll have any left to store!
Frequently Asked Questions
What are the main ingredients for Graveyard Pudding Cups?
The main ingredients for Graveyard Pudding Cups include the items listed in our ingredients section above. Each ingredient plays a crucial role in achieving the perfect flavor and texture.
How long does it take to make Graveyard Pudding Cups?
The total time to make Graveyard Pudding Cups includes both preparation and cooking time. Check the recipe card above for exact timing details.
Can I make Graveyard Pudding Cups ahead of time?
Yes, Graveyard Pudding Cups can often be prepared in advance. Store it properly in an airtight container in the refrigerator and consume within the recommended timeframe.
What can I serve with Graveyard Pudding Cups?
Graveyard Pudding Cups pairs well with various sides and accompaniments. Consider the serving suggestions mentioned in the recipe for the best dining experience.
Is Graveyard Pudding Cups suitable for special diets?
Depending on the ingredients used, Graveyard Pudding Cups may be adapted for various dietary needs. Check the ingredients list and consider substitutions as needed for your dietary requirements.
Final Thoughts
Creating Graveyard Pudding Cups is not only a fun culinary adventure but also a wonderful way to bring people together. These whimsical treats are a testament to the joy that cooking can bring, especially when it involves a touch of creativity and a nod to cherished family traditions. As you gather around the table with your loved ones, I hope these pudding cups inspire laughter, storytelling, and perhaps a few ghostly tales shared by candlelight. From my family to yours, here’s to a festive and flavorful Halloween!